MQTT Client Overview
 |
The Edge One™ MQTT Client displays the messages and published by Projects on the Edge One™’s MQTT Server, allows the inspection of message payloads, and it also allows the publication of messages on Edge One™ Project topics or on custom topics. |
|---|
This guide provides an overview of the features and operation of the Edge One™ MQTT Client, which includes:
- Product Description outlines the features of the MQTT Client.
- Topic messages used to enter one or more topics to monitor and display their messages.
- Message details, which allows to set options for the subscription to messages, as well as to enter messages to be published on the topic selected.
- Publishing messages, allows to publish messages on the MQTT Message Broker used by the Project for w
Product Description
The Edge One™ MQTT Client allows a user to monitor the MQTT messages published by Projects configured in Edge One™ in real-time. It also allows the inspection of message payloads and to publish and send custom payloads into Project topics or custom topics.
It also provides an easy way to debug connectors and applications when it is required to see the payloads that the connectors and applications are publishing.
The Client connects to the internal or external MQTT server configured in the Edge One™. To use the MQTT Client:
- Open the application from the Edge One™ Gateway menu, or
- Open the application from an individual Project’s command ribbon.
Note: a Project must be running in order for the MQTT Client to display published messages or to publish messages into a Project topic.
Figures 1 and 2 below show both options to open and run the MQTT Client.
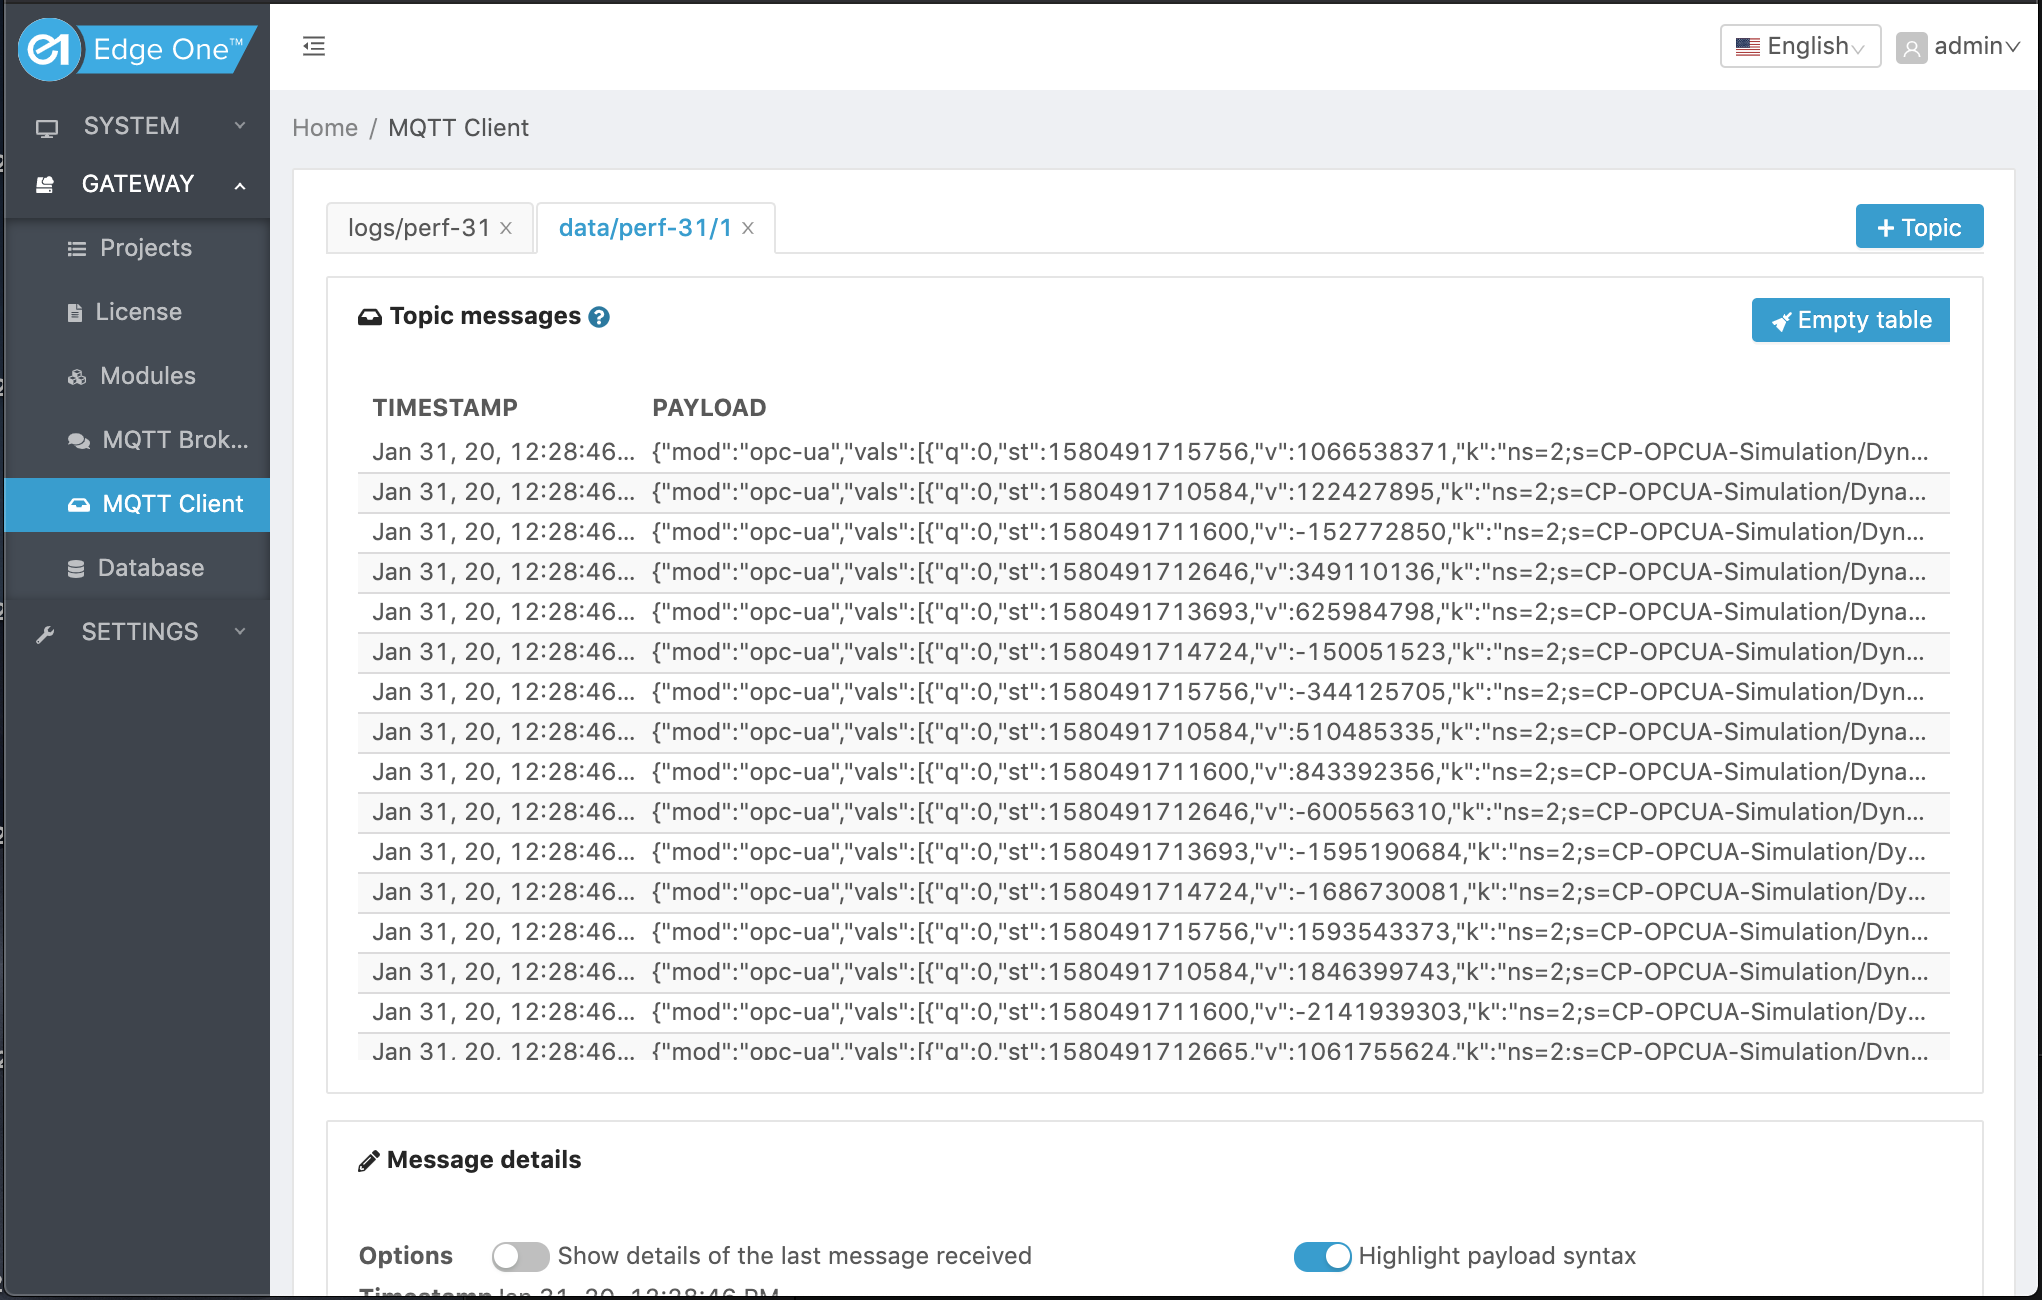
Figure 1. Starting form the Gateway Menu.
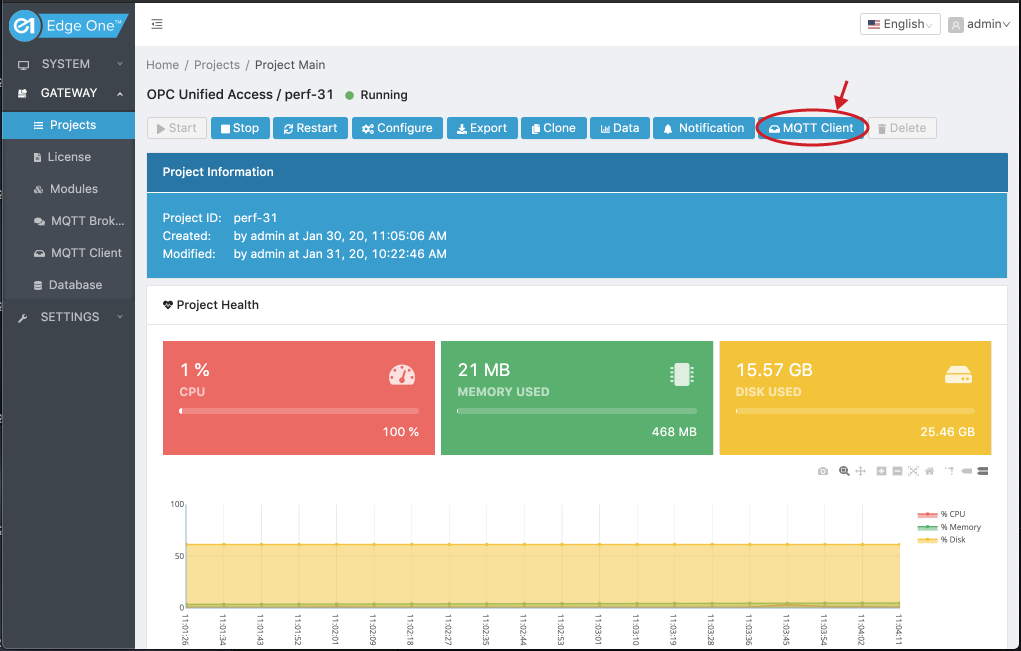
Figure 2. Starting form the Project command ribbon.
Topic Messages
The Topic messages panel allows the user to:
- Enter a topic or topics whose messages you want to monitor.
- Display the last 10,000 messages published in the topic selected.
- Display the content of a message.
To monitor a topic:
- Click the Add Topic button ( Topic ).
- Enter a valid topic in the topic panel. Log topics start with log/. Data topics start with data/.
- Click on Start MQTT Client.

Figure 3. Topic to be monitored.
If there is data published in the channel, the messages will start filling out the screen as shown below.
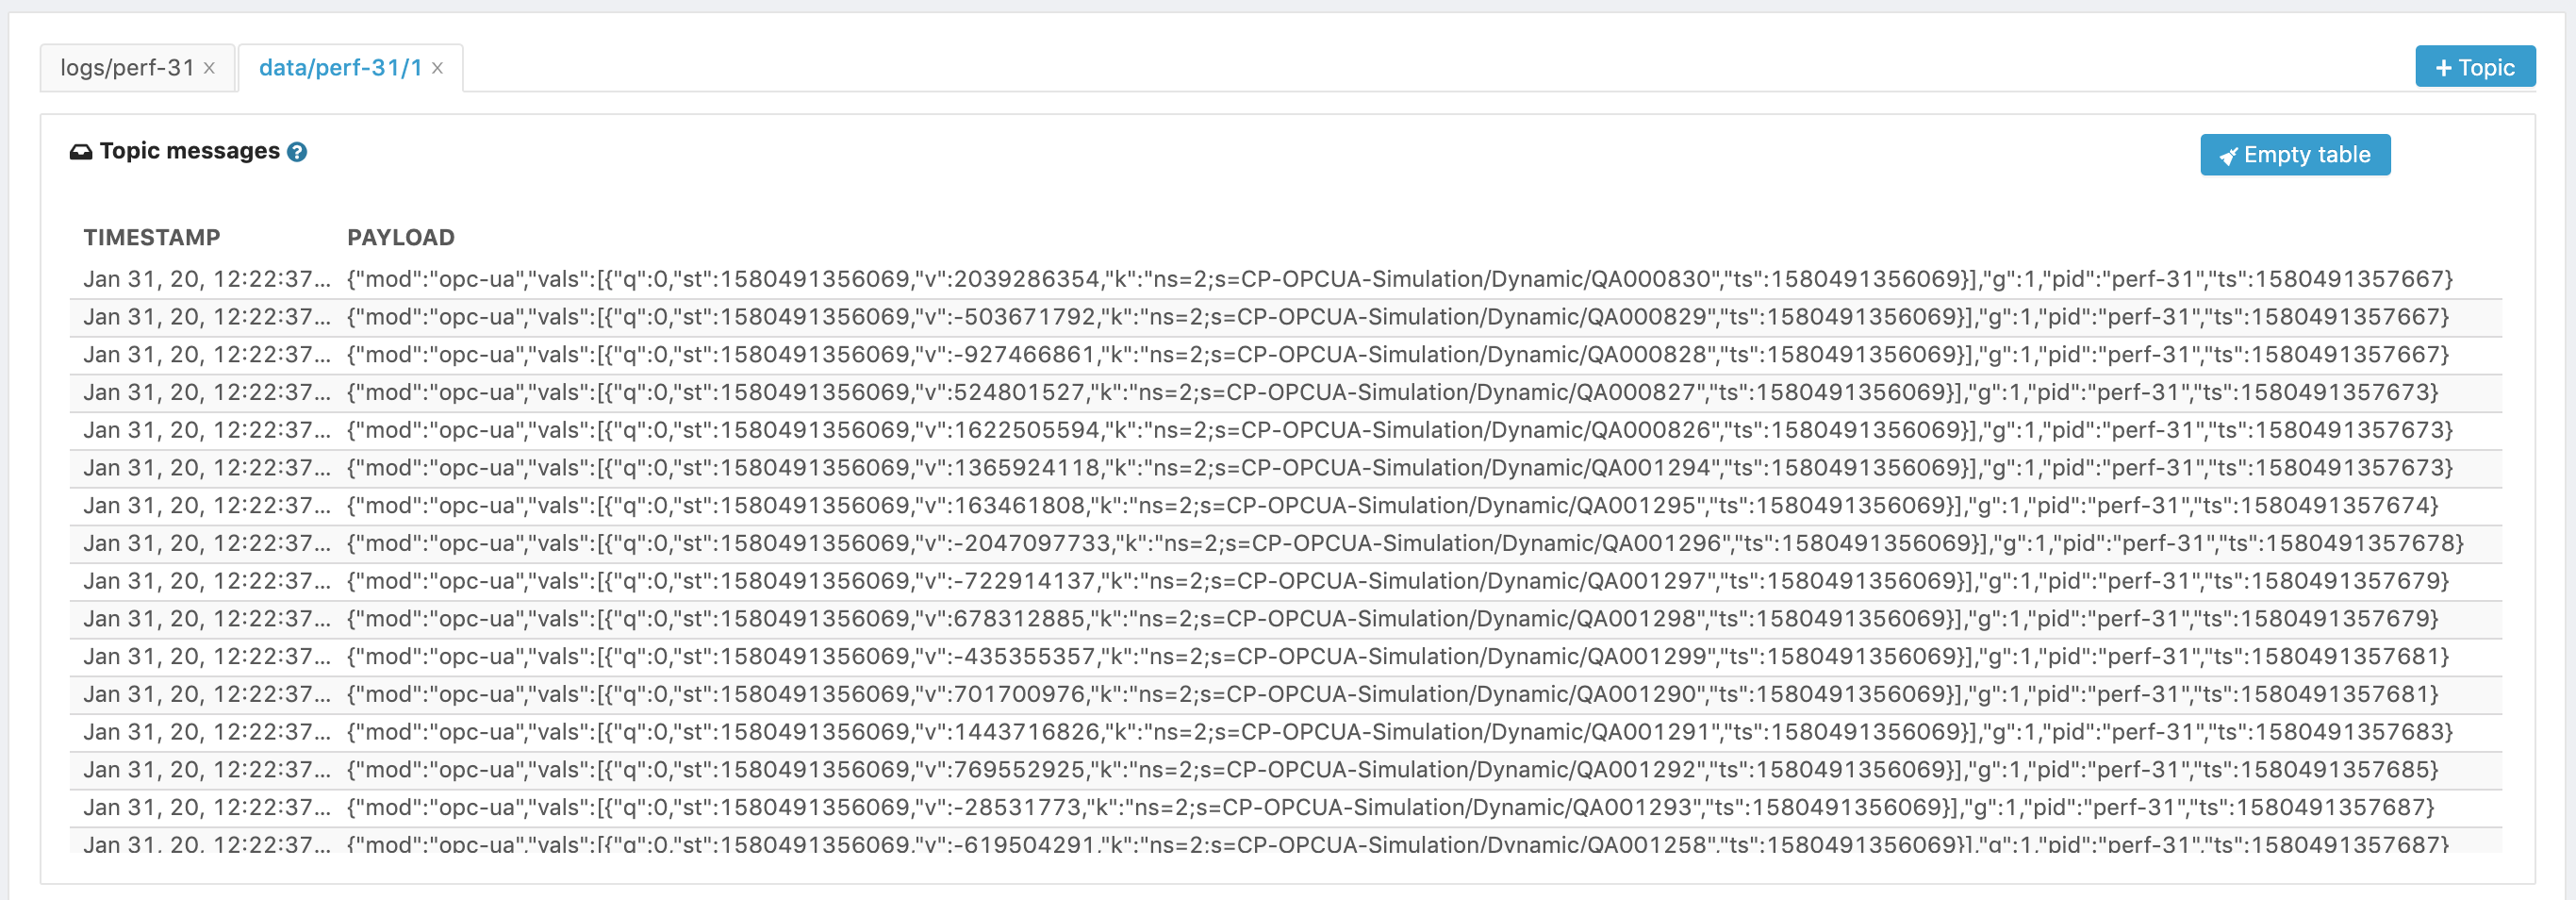
Figure 4. Published messages.
To see the full details of a message Click on the message to open it and display its contents in the Message details panel. The Show details of the last message switch is automatically turned OFF.
If the message payload is too long for the width of your browser screen, you can scroll the panel to see all the message contents. You can also highlight the entire message and copy it to a text editor if you want.

Figure 5. Contents of a message.
Message Details
The Message Details panel allows the configuration of options for the display of the last message published by the Client.
Options has two switches:
- Switch to displays the last message details:
- When ON, the payload of the last message received is displayed. When the data rate is high, this value changes quickly as new messages are published.
- When OFF:
- The payload of the last message published before the switch was turned OFF is displayed, or
- The payload of the message selected under Topic messages is displayed.
- Switch to highlight the payload syntax. This switch allows for easier reading of complex payloads.
- When ON, the syntax of the payload is highlighted.
- When OFF, the payload is display with no highlights.
Timestamp displays the timestamp of the last message received.
Payload displays the message payload.
Figures 6 and 7 below, show examples with both switches ON and and both OFF.

Figure 6. Sample message details with both switches on.

Figure 7. Sample message details with both switches OFF.
Message Details
The lower panel allows to publish a message payload in the currently selected topic or channel.

Figure 8. Send message panel.
To publish a message:
- Enter the payload in the payload field. The default format is JSON, but you can enter any payload format supported by your application.
- If the payload is a JSON, make sure that the JSON payload switch is ON. The JSON syntax checker will verify that the payload syntax is valid before publishing it.
- Select the Quality of Service level (QoS) for the message. Supported values are 0, 1 and 2.
- Click the Send button.
The message will be displayed in the Topic messages panel.

Figure 9. Sample JSON message.