Intel Edison
CloudPlugs SmartPlug™ Agent Tutorial for Intel Edison
The CloudPlugs SmartPlug™ Agent is designed to run on different Operating Systems, both Unix-like and Windows. The vast majority of embedded products run Linux. This guide explains how to setup and connect an Intel Edison running Yocto Linux to CloudPlugs.
The tutorial is intended for beginner to intermediate level developers.
SmartPlug™ Agents and Intel Edison® lower the barrier of entry for a range of makers, inventors, entrepreneurs, and consumer product designers to rapidly connect Internet of Things and wearable computing products.
Sample Project – Heartbeat LED
In this sample project, we leverage the CloudPlugs SmartPlug™ IoT agent on Intel Edison® with a mini breakout board to blink a LED connected to a Digital IO port on the Edison board.
The tutorial explains how to:
- Configure the hardware to enable the Edison® board.
- Create and provision the device in the CloudPlugs platform.
- Install and configure the SmartPlug™ agent in the Edison board.
- Program a SmartPlug™ application in the CloudPlugs service platform.
- Deploy and execute the code on a SmartPlugTM agent running on the Edison board.
- Verify that the LED is blinking and publishing data in the CloudPlugs platform.

Configure the Edison hardware
Components Wiring (1 of 2)
We connect a LED to the GPIO port named GP115 located on the first line (J17) at position 12 (wired to 11 in lib mraa).

Refer to the “Additional Information” section of this document or to this link for additional information on lib MRAA pinout matching with edison physical pins:
Components Wiring (2 of 2)
In this schema we show how the LED is wired to board.

Configure the Intel Edison
Setting up the Intel Edison board:
- Update the board with the latest software version and login through the serial port:
- Set up the wifi network access (enter the ssid and key of your wifi internet connection):
- root@edison:~# configure-edison –wifi
- Follow the procedure.
- Confirm the internet connection with a “ping www.google.com” command.
- Set up the Node.js IO library for Intel Edison:
- root@edison:~# echo “src mraa-upm http://iotdk.intel.com/repos/1.1/intelgalactic” > /etc/opkg/mraa-upm.conf
- root@edison:~# opkg update
- root@edison:~# opkg install libmraa0
Set up your Thing in the platform (1 of 3)
- Create a Production Template
a. Click the (
) icon in the CloudPlugs IoT web desktop to open the Production Template management console.
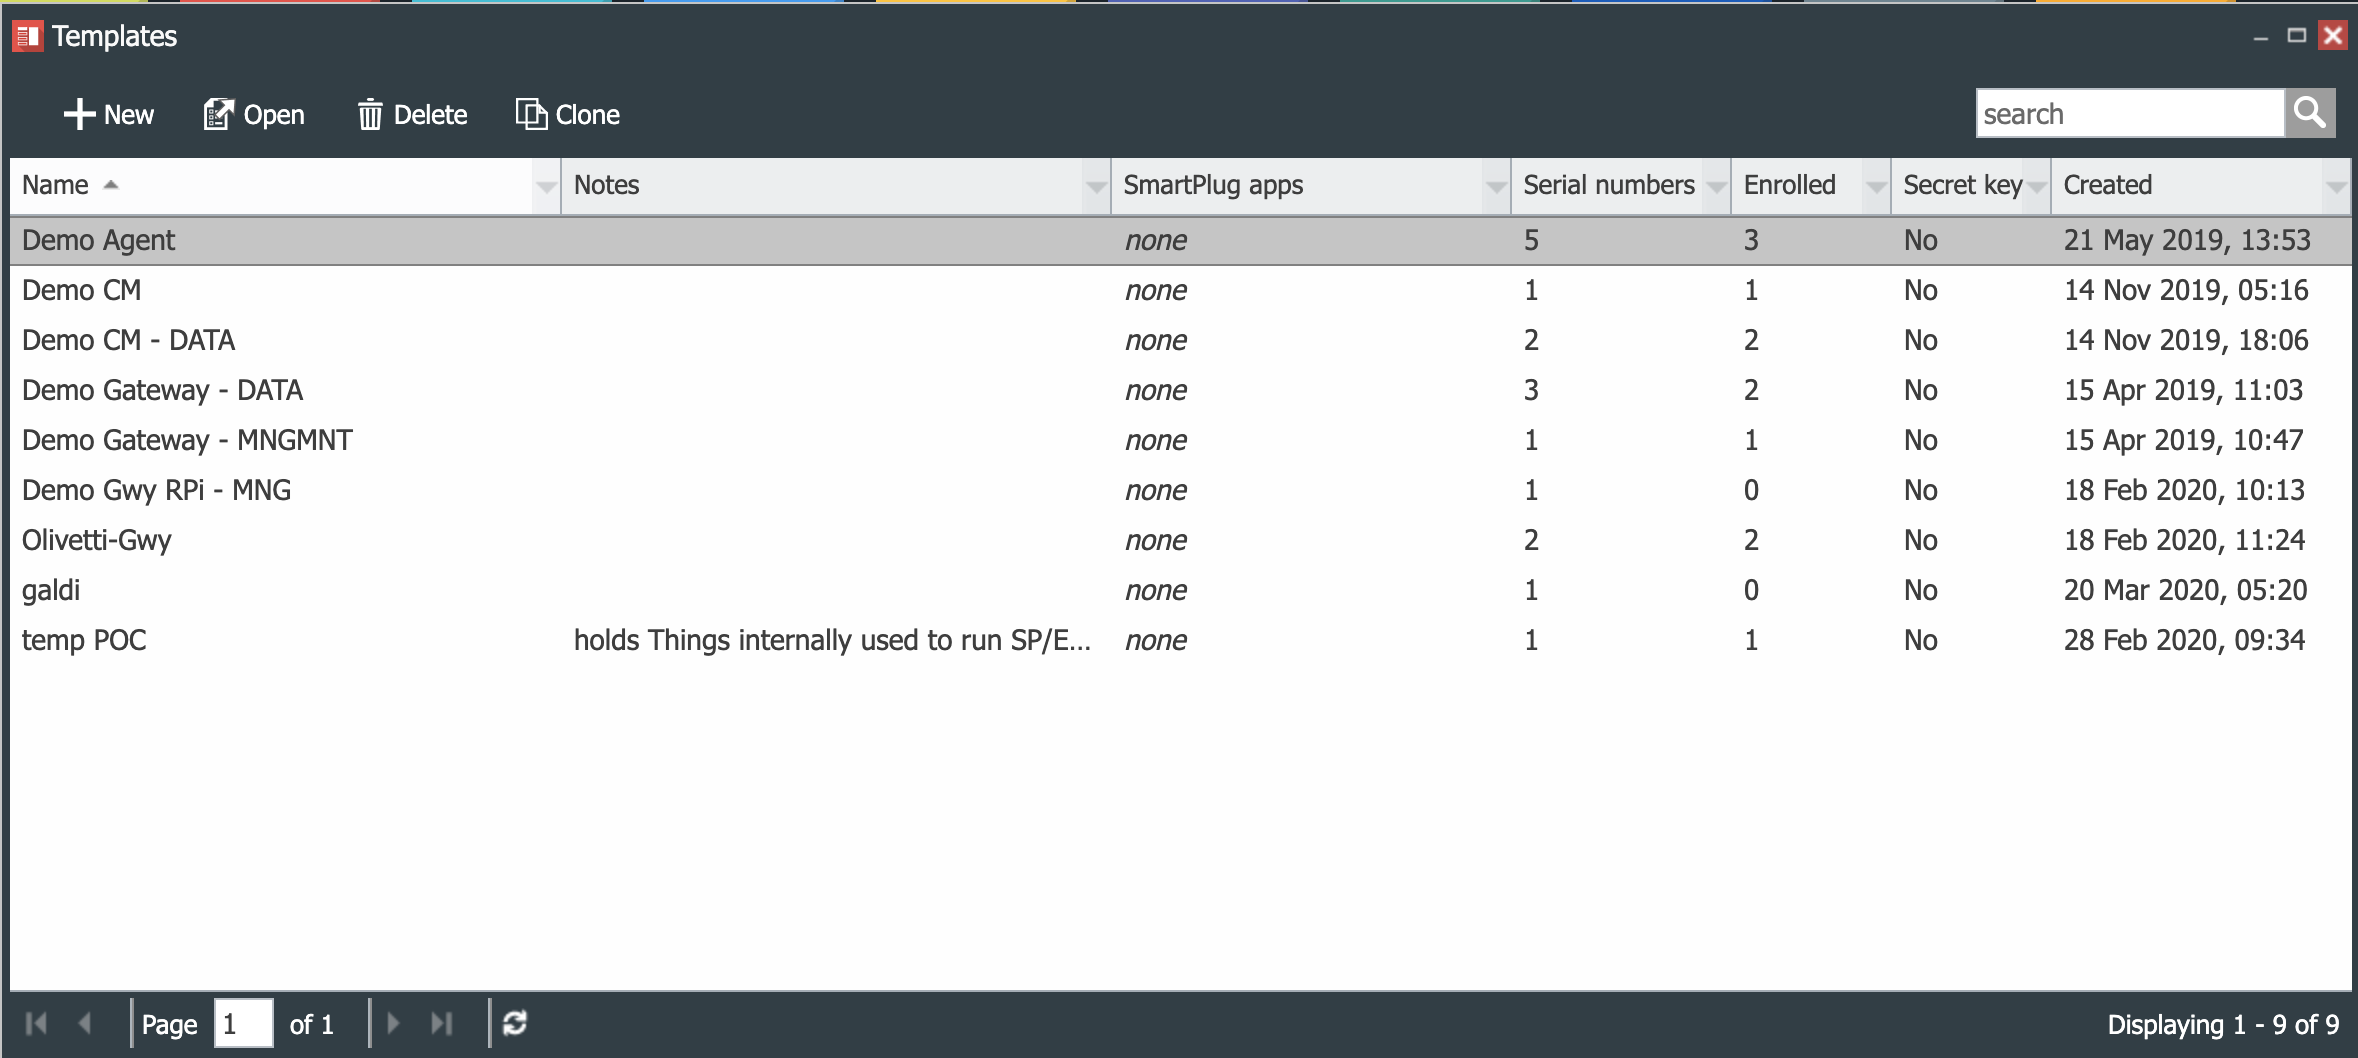
b. Click the New Template ( ) icon.
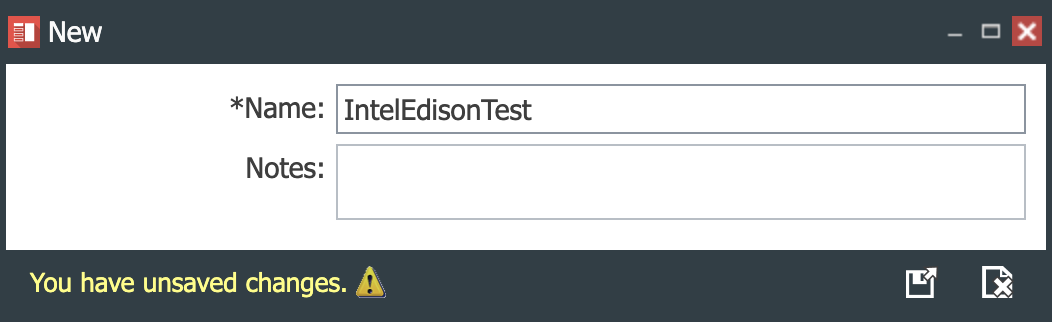
c. Enter a Name for the Template and Save.
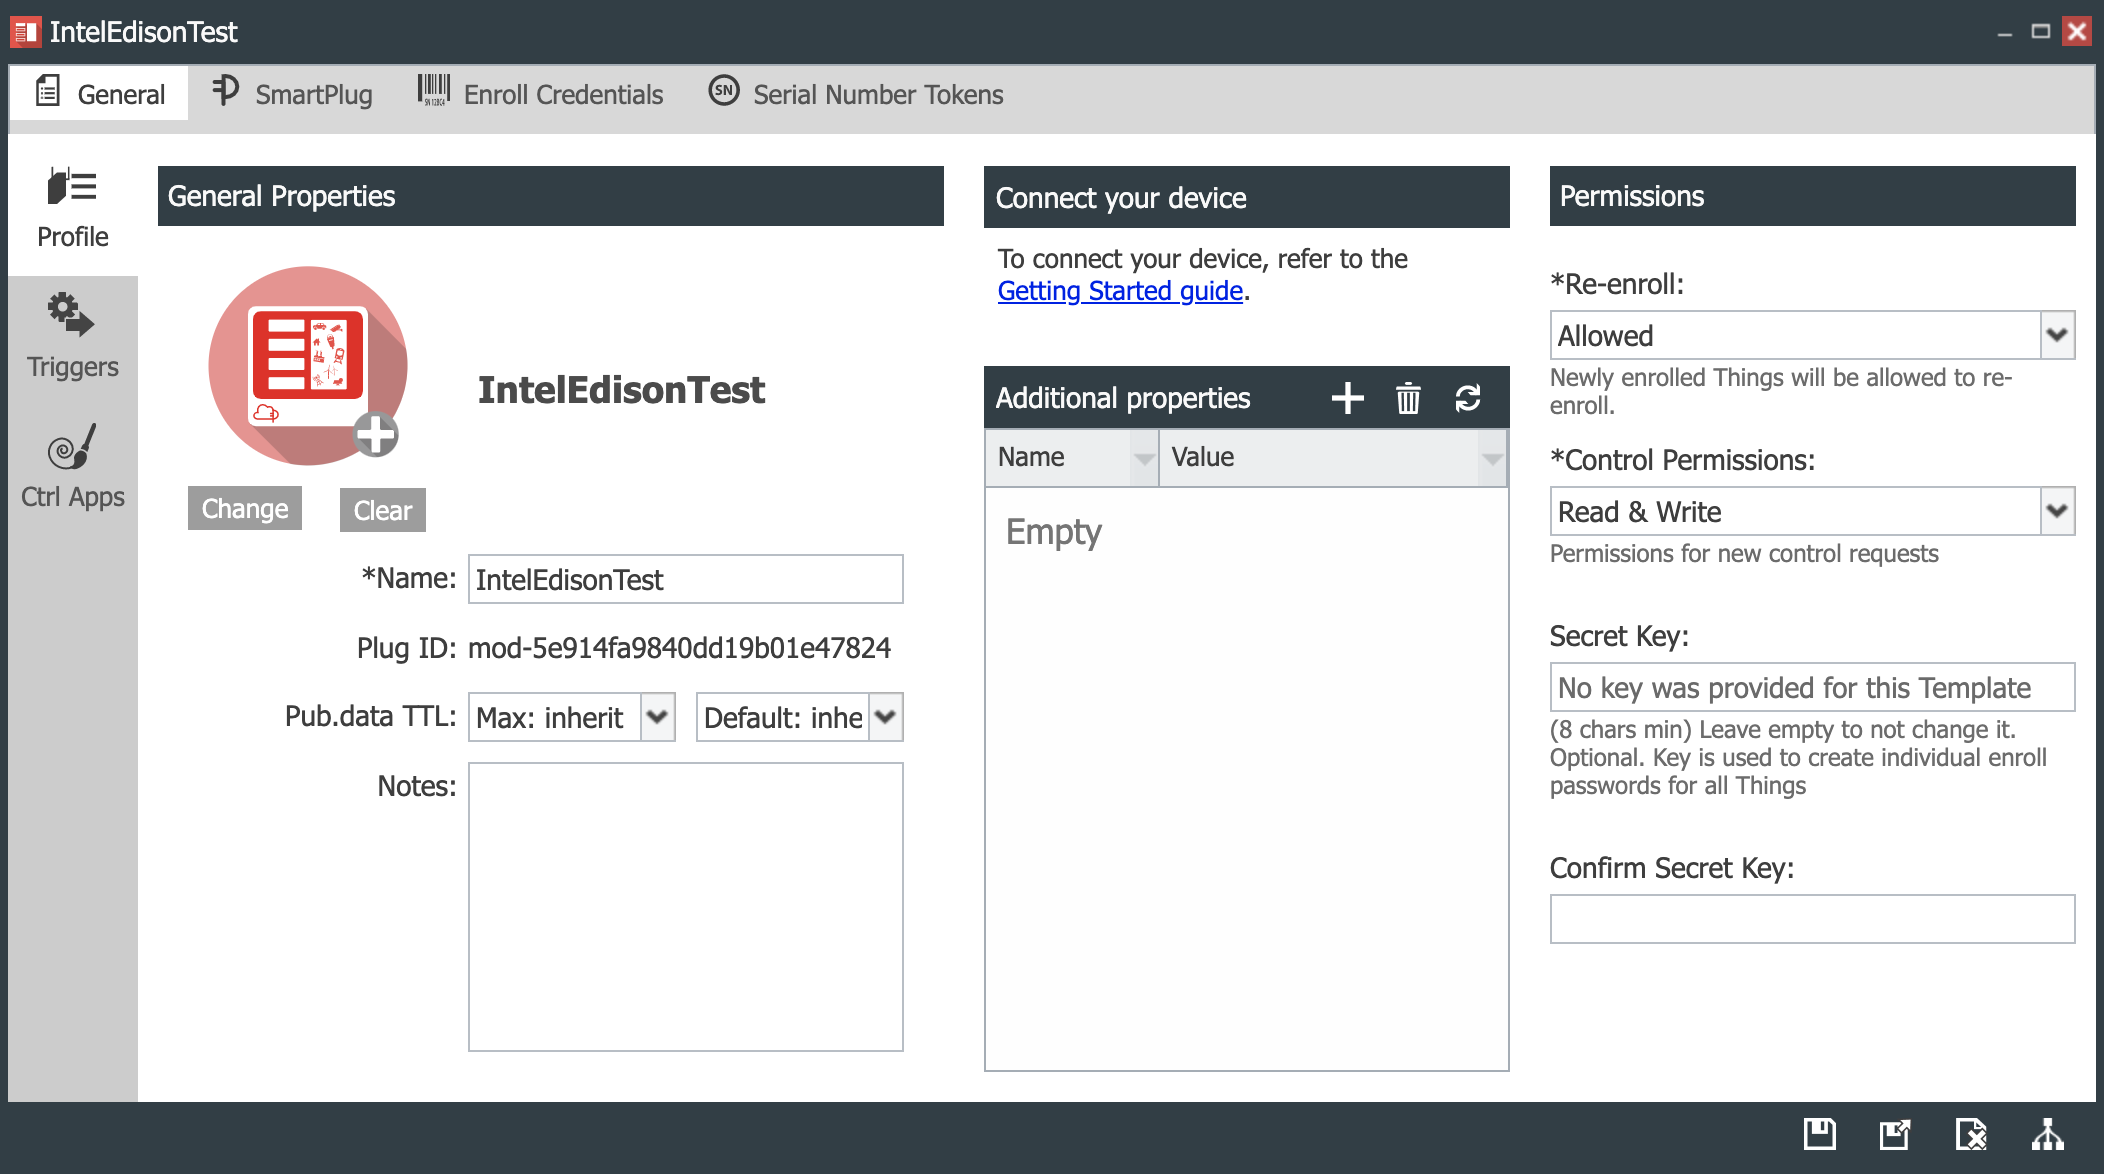
d. The resulting template is displayed.
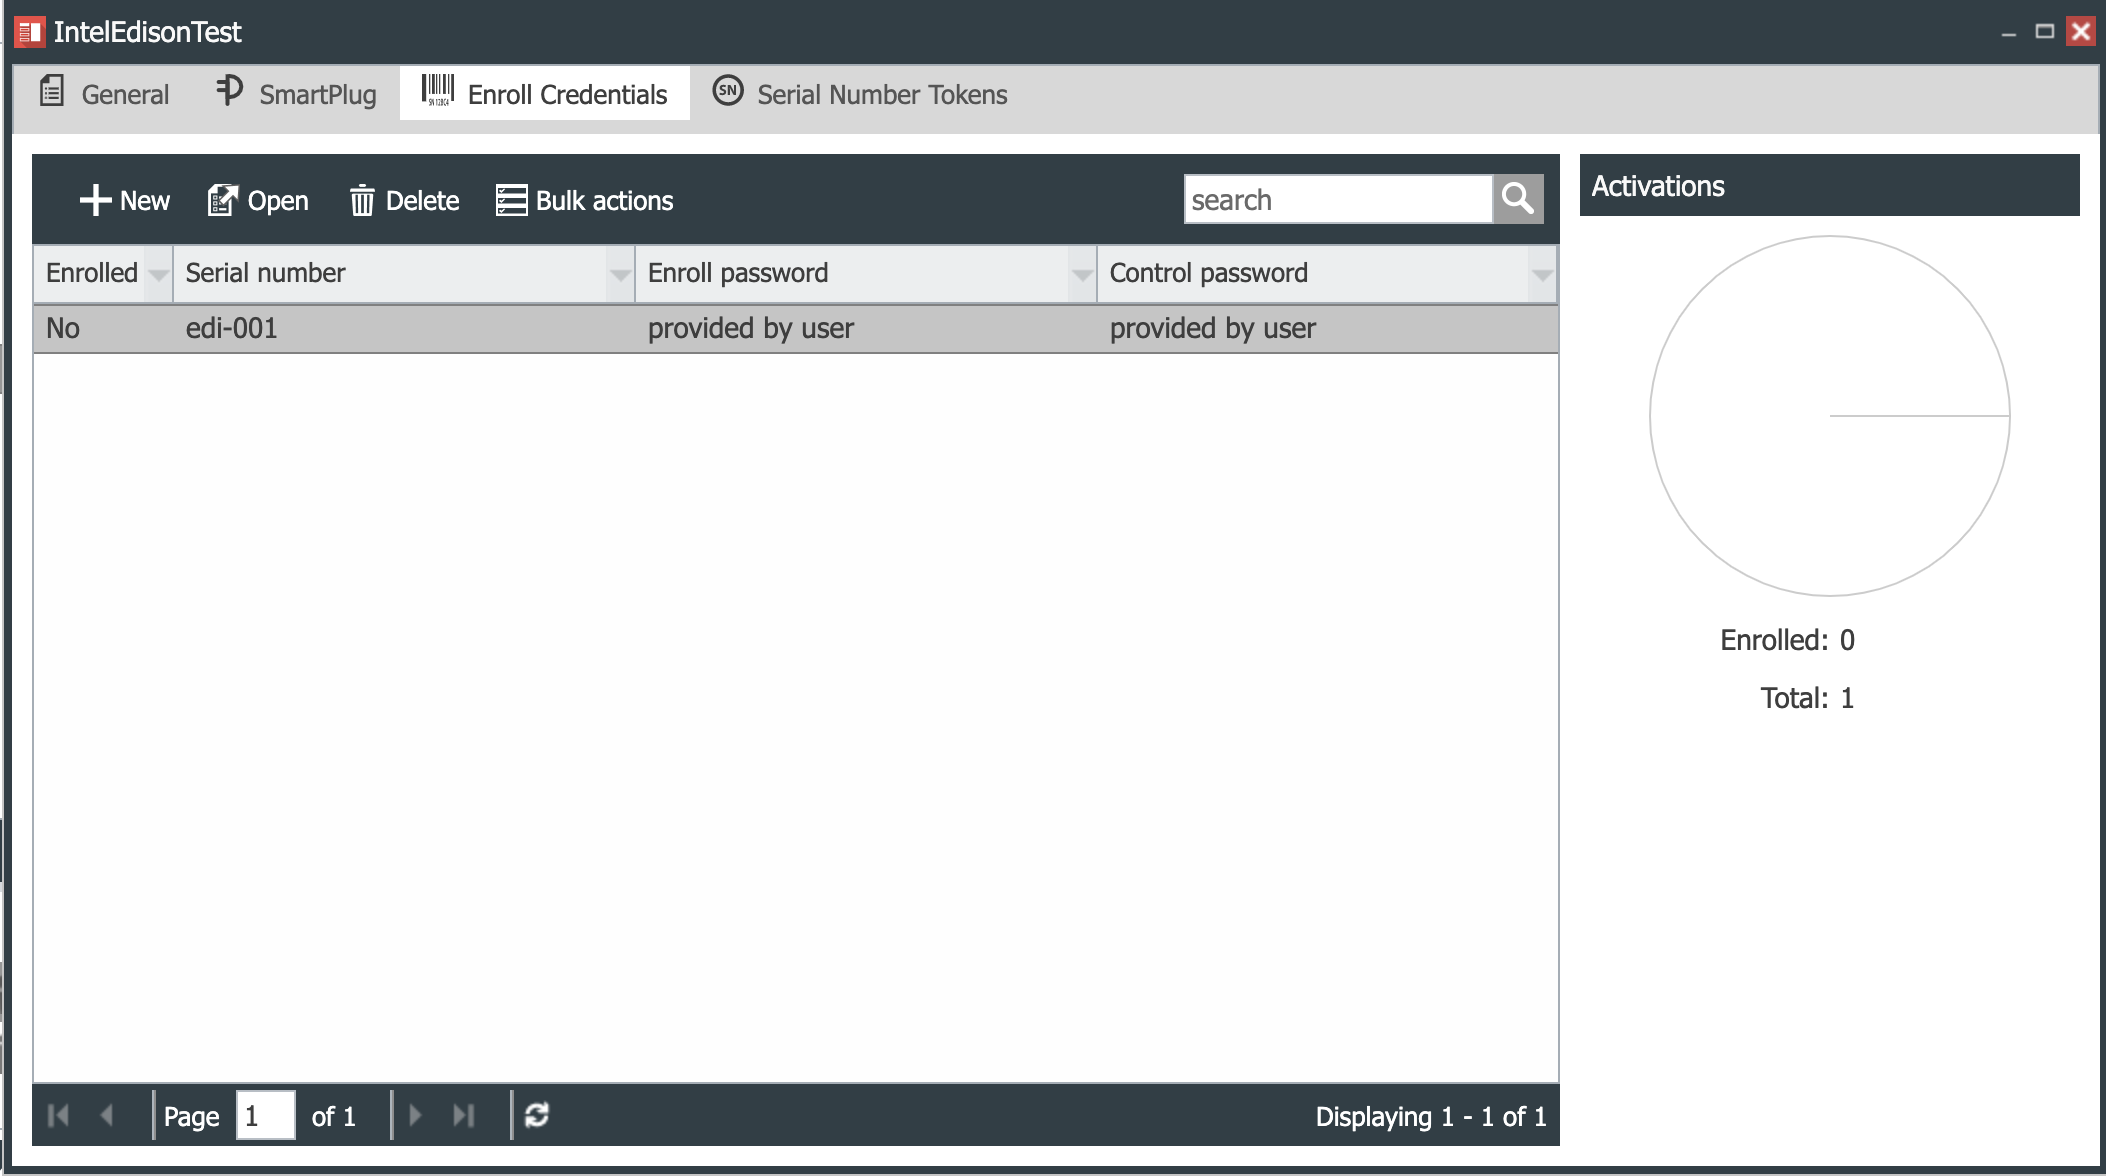
- Add a Serial Number to Production Template:
a. Click the Enroll Credentials icon (
) from the tabs bar to access the Enroll Credentials management interface.
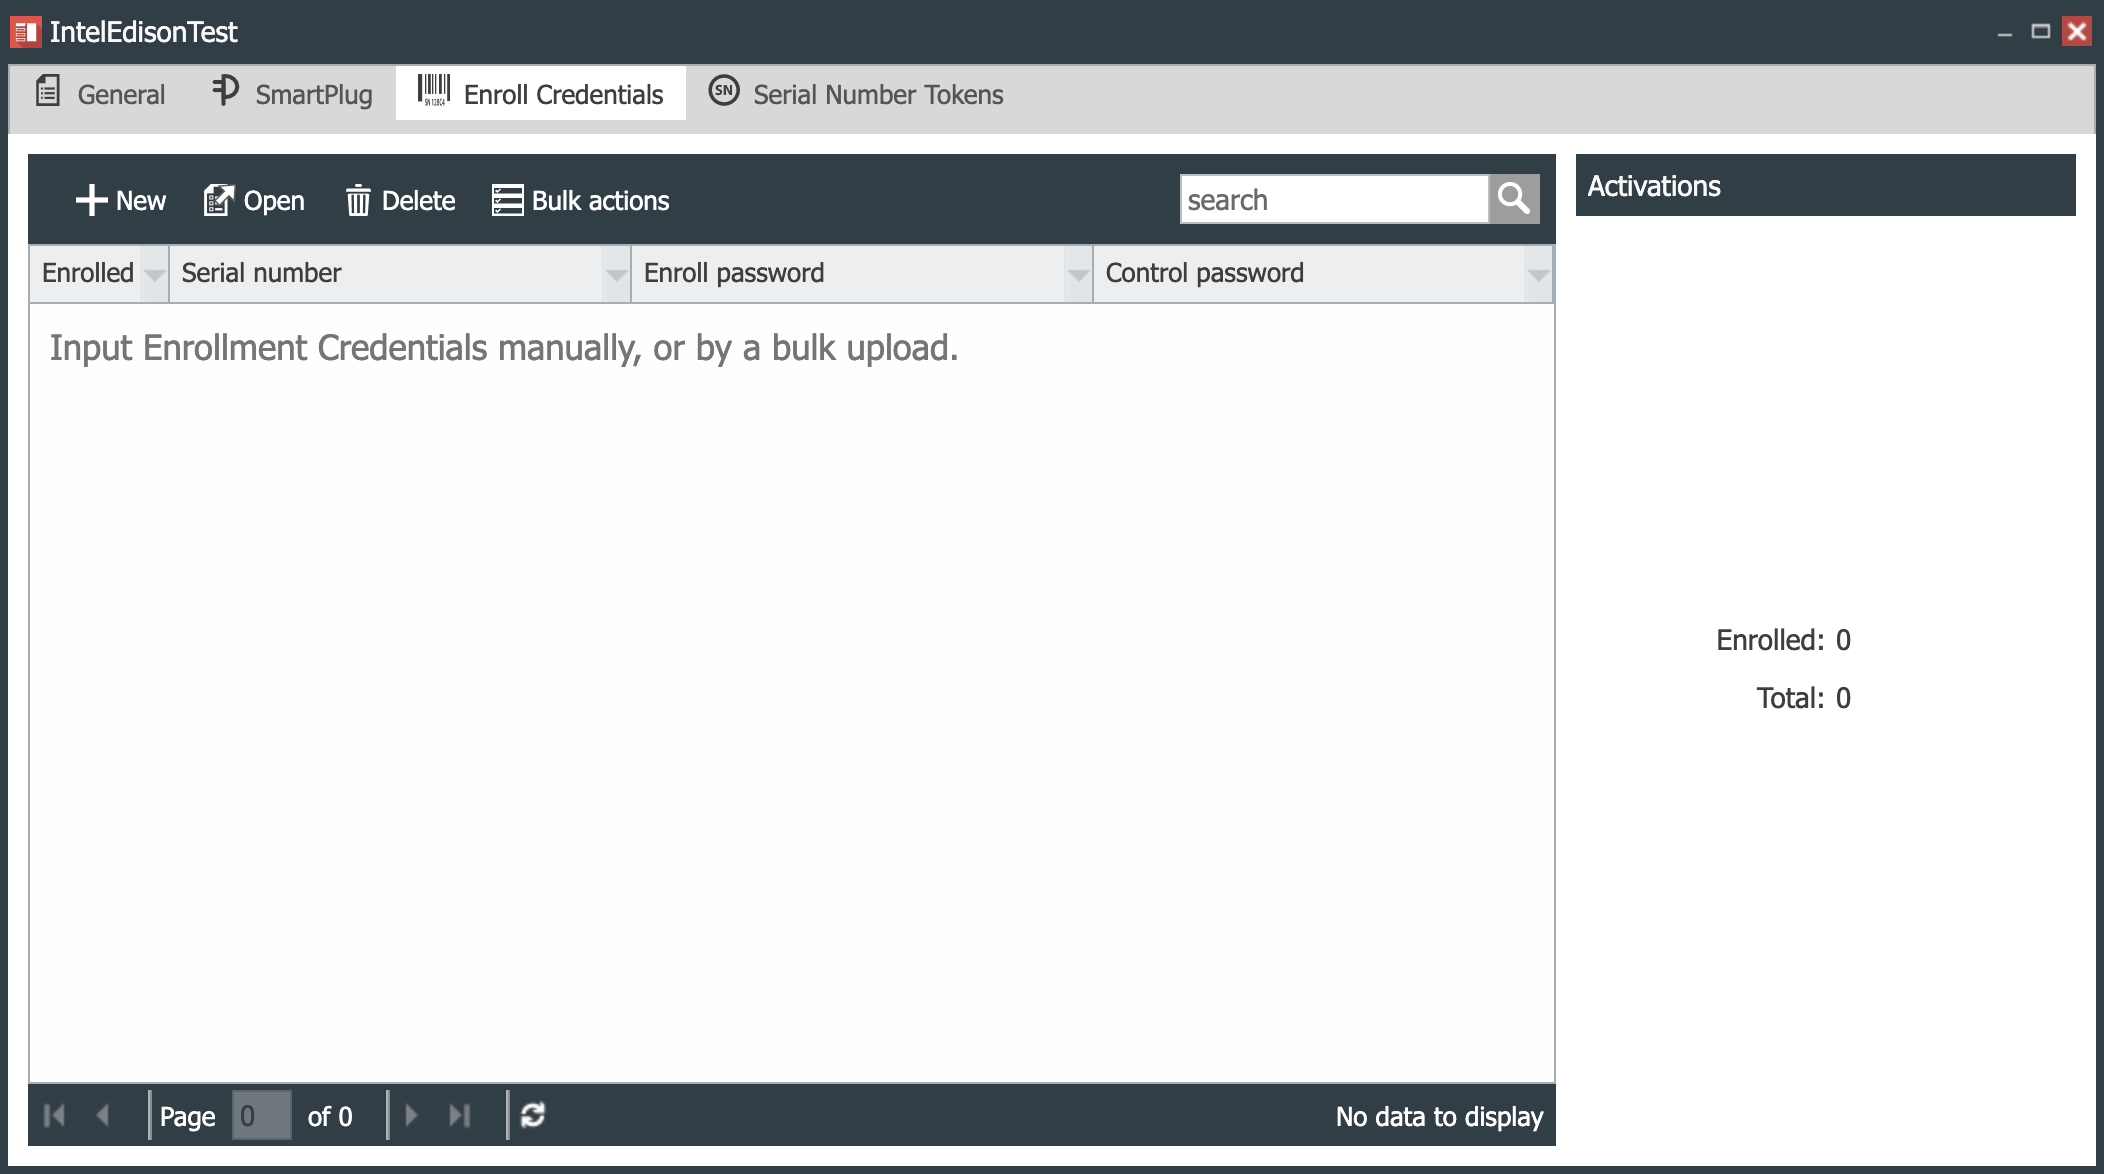
c. Click the ( ) button to create a new serial number for the Intel Edison.
d. Enter a new serial number and an enrollment password for it and and then click the (
) button to save.
|
|
- Complete the process by provisioning the serial numbers in the platform:
a. Return to the General tab (
)
b. Click Save and then click the Provision Things (
) button to provision the devices. The results are shown below.
|
|

Installing the SmartPlug™ IoT agent
- Please be sure to start this process in a writable folder (i.e.: /opt) and logged in as root
- For an up to date version of the installation process please refer to this guide: /smartplug/#!/guide/start_install
-
Agent installation procedure:
-
Normal installation:
root@edison:~# wget -O- http://platform.cloudplugs.com/download/smartplug-install.sh | sh -C -
Installation with Autostart at boot:
root@edison:~# wget -O- http://platform.cloudplugs.com/download/smartplug-install.sh | INIT=1 sh -C -
Upgrade – If previously installed in Autostart, INIT=1 can be skipped:
root@edison:~# wget -O- http://platform.cloudplugs.com/download/smartplug-install.sh | UPGRADE=1 sh -C
-
-
Post-installation tasks:
-
Copy libmraa from the generic intel Edison folder to the SmartPlugTM agent user modules folder:
root@edison:~# cp -Rf /usr/lib/node_modules/mraa /opt/smartplug/usr/node_modules/
-
Set up SmartPlug™ (1/2): Configure the SmartPlugT to connect to CloudPlugs IoT
The following process will let the user connect the SmartPlug™ agent to the CloudPlugs IoT platform:
-
Edit the SmartPlugTM configuration file with the vi editor:
* root@edison:~# vi /home/root/smartplug/usr/smartplug.conf -
Uncomment enroll_target = thing
-
Uncomment and set enroll_model to the Plug-ID from the Production Template
-
Uncomment and set enroll_thing to the Serial Number entered in the Production Template
-
Uncomment and set enroll_pass to the Password entered in the Production Template
-
Save & Exit from vi with: [esc], type “:” , type “wq”, [return]

Note: The final result should look like the picture above, except that you will see your own Production Template Plug-ID on the “enroll_model” variable.
Set up SmartPlug™ (2/2): Start the SmartPlug™ agent
- Start the SmartPlug™ manually for the first time:
root@edison:~# /opt/smartplug/bin/smartplug &
- Let the agent run to verify that it connects to CloudPlugs through the PlugNet™ server.

- We will now proceed to develop the SmartPlugTM application that will run on the agent.
Writing a SmartPlug™ App (1/3): Creating a SmartPlug™ app application
- Open the SmartPlug™ Apps tile (
 ) on the CloudPlugs Platform.
 - Create a new App with the (
 ) button.
 - Give it a Name making sure you also enter the .js file extension. For this tutorial we’ll call it edison-demo.js
- Set Type to Automatic Execution since we are not creating a re-usable library.
- Save and Close ().
Writing a SmartPlug™ App (2/3): Write the code of a SmartPlug™ App
Copy this JavaScript NodeJS code to the SmartPlug™ App code window (result shown on next page):
var cloudplugs = require('cloudplugs'); //require cloudplugs library
var agent = cloudplugs.agent; //getting agent reference
var log = cloudplugs.log; //gett log reference
var m = require('mraa'); //require mraa

log('Starting CloudPlugs demo: '+ m.getVersion()); //log

var myLed = new m.Gpio(11); //LED hooked up to J17 – pin 12 (it is nr. 11 with libmraa addressing)
	myLed.dir(m.DIR_OUT); //set the gpio direction to output

var ledState = true; //Boolean to hold the state of Led

mainLoop(); //call the mainLoop function

function mainLoop(){
	myLed.write(ledState?1:0); //if ledState is true then write a '1' (high) otherwise write a '0' (low)
	ledState = !ledState; //invert the ledState
	agent.pubData({
		ch:'edison/heartbeat',
		data:'alive',
		ttl:3600
	}); //logging on cp
	setTimeout(mainLoop,1000); //call the indicated function every second
}
Writing a SmartPlug™ App (3/3)
- To save the SmartPlug™ app and make this new App deployable, click on the “Save and Commit” (
 ) button.

Deploying a SmartPlug™ App: Deploy the SmartPlug™ App to the Edison
-
Register the SmartPlug™ App on the edison “Thing”:
a. Click on the “Things” desktop tile (
 ) to open the Things Management Console.
b. Open the Thing with the serial number “edi-001”
c. From the top ribbon of the Thing Properties Console click the (
 ) icon
d. From Automatic execution in the AppStore panel, drag the app “edison-demo.js” and drop it into the Associated apps list.
e. Save and Close (
).
Verifying the success of the Project:
-
LED must be blinking
-
Data is getting published in the data panel of your Production Thing.