JIRA Trouble Tickets
Overview
One of the actions that can be programmed to be executed by a trigger is to create a JIRA trouble ticket. To use this functionality, a JIRA account with Atlassian is required. You will also have to have structured projects, issue types, assignees and priorities to be able to create the tickets correctly.
The platform can be programmed to create a JIRA trouble ticket as an action for any type of trigger created.
The CloudPlugs JIRA ticket template is very powerful:
- It allows you to customize the messages to include as much or as little relevant information as desired.
- It supports multiple Special Symbols (special text strings) that can be used to provide information gathered by the system.
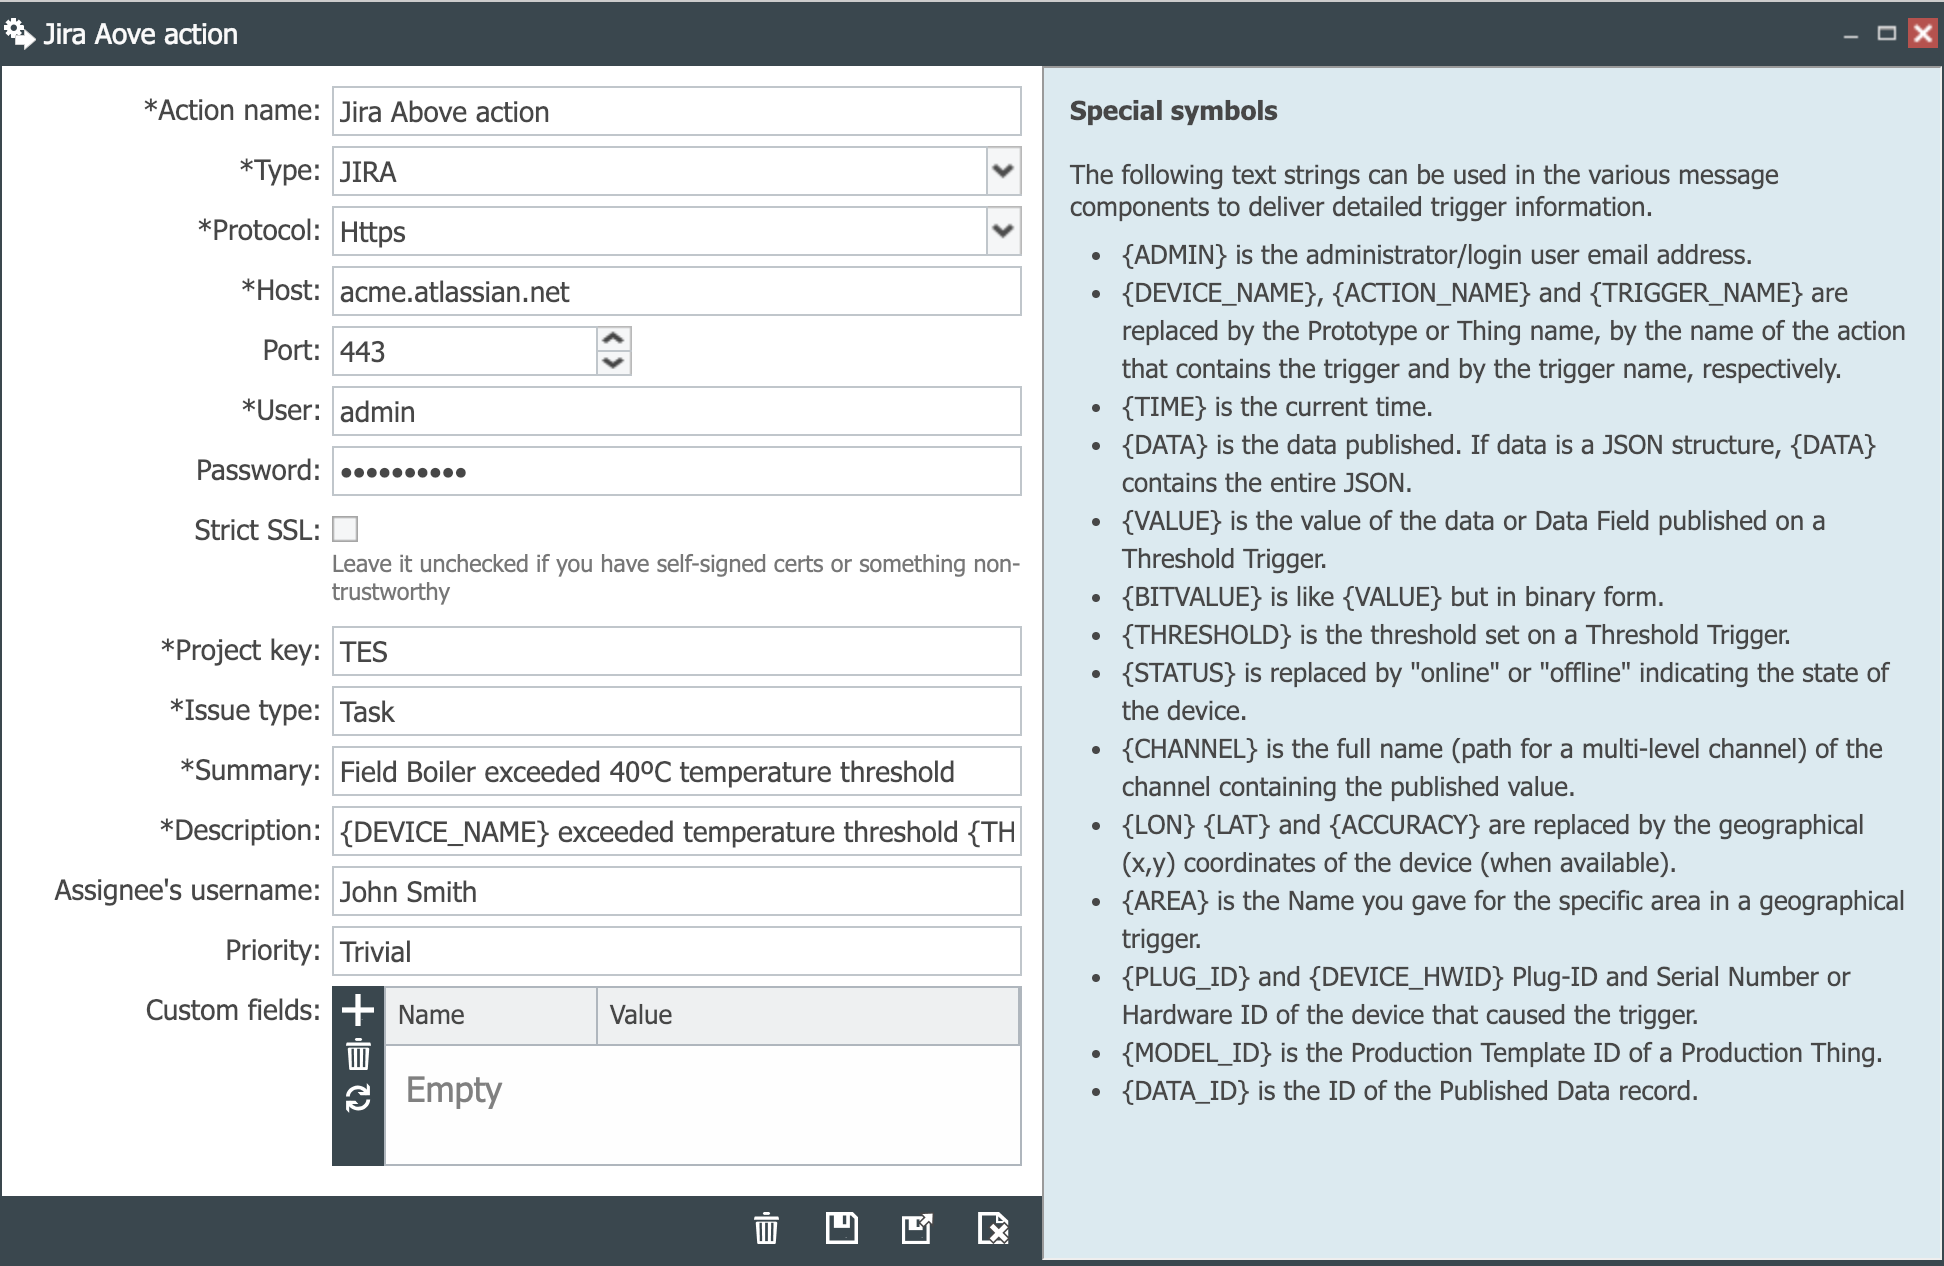
The JIRA ticket template has the following input fields:
- Action name. This is the name that you will give to the action to be programmed.
- Type. The type of action is JIRA.
- Protocol. Both HTTP and HTTPS are supported.
- Host. The system hosting the JIRA account. Typically company_name.atlassian.net.
- Port. Typically 443.
- User. The user name that will be used to create the ticket.
- Password. The user’s password to login to JIRA.
- Strict SSL. Leave it unchecked if you have self-signed certificates or something not trustworthy.
- Project key. The project ID under which the ticket will be crated.
- Issue type. The type of issue that the ticket will be logged under. You will have structured your own types of issues.
- Summary. The title of the issue created.
- Description. Description of the issue.
- Assignee’s username. The user name of the person who will receive the trouble ticket. If this field if filled out with a non-existent Assignee, the ticket will not be created.
- Priority. The level of priority for the issue based on your system’s priority levels
- Custom fields. Any custom fields available in your JIRA account.
A sample JIRA ticket action template is illustrated below. A full example on how to create and test a JIRA trouble ticket is provided in the next section.
 |
|---|
Example
Here is an example of how to create a Threshold Trigger that will automatically create a JIRA ticket when a device exceeds a temperature threshold.
We will use the same Boiler channel as in the example for Threshold Triggers, and we will replace the email action when the published data is equal to or exceeds the threshold with a JIRA above action. We will also keep the email action when the value exceeds the threshold.
| 1. Create a new Jira Trigger, set the channel to Boiler1 and the Data field to temperature. | |
| 2. Add a Threshold rule. Set the Threshold value to 40, and add, configure and save a Jira ticket template action called Jira above action when the data value is equal to or exceeds the Threshold, as shown here. |  |
| 3. Save the Rule. | 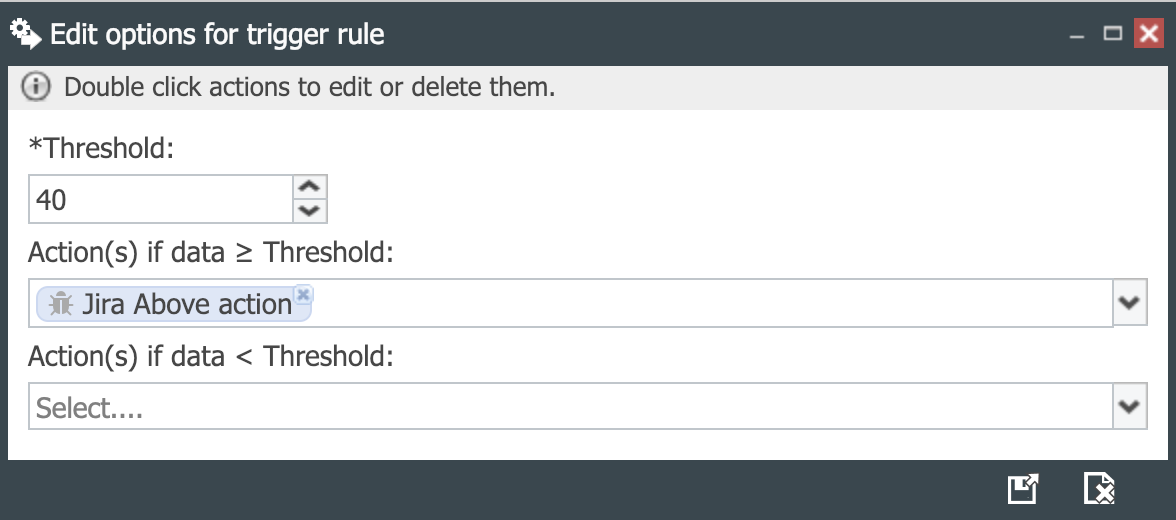 |
| 4. Save the Trigger. | 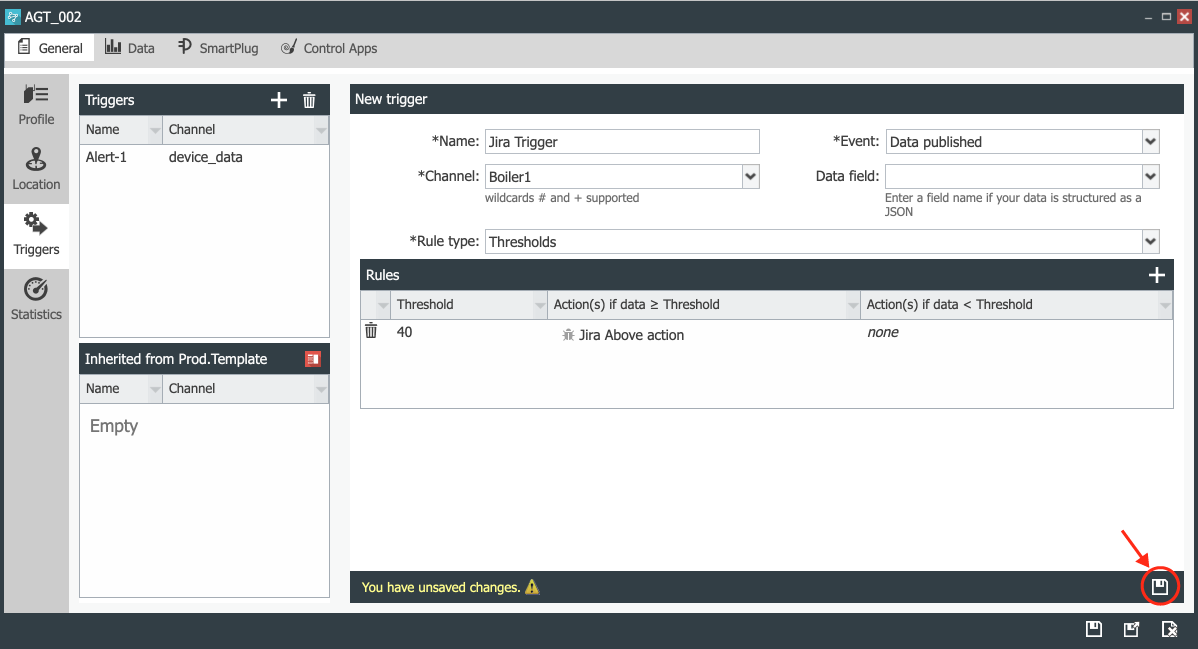 |
| 5. Save the device. | 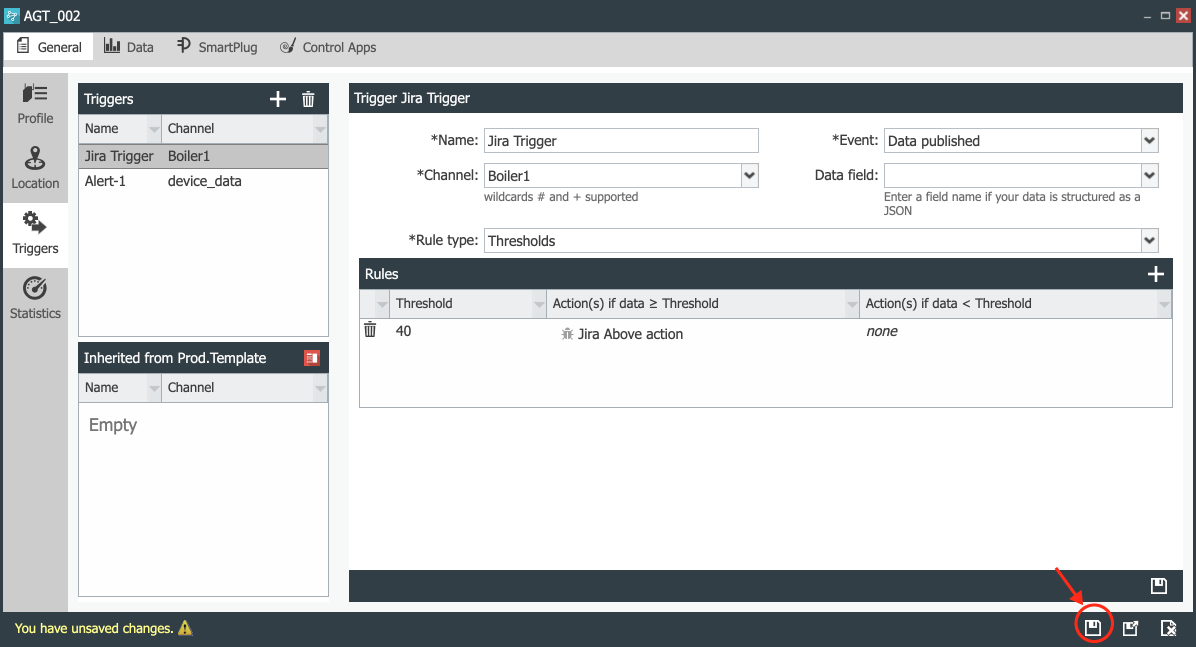 |
| 6. Since the last published data in the temperature data field of channel Boiler1 was 39. Publishing a higher temperature value will execute the trigger. Publish the JSON {“temperature”:58,“pressure”:98} in the Data field temperature of channel Boiler1. | 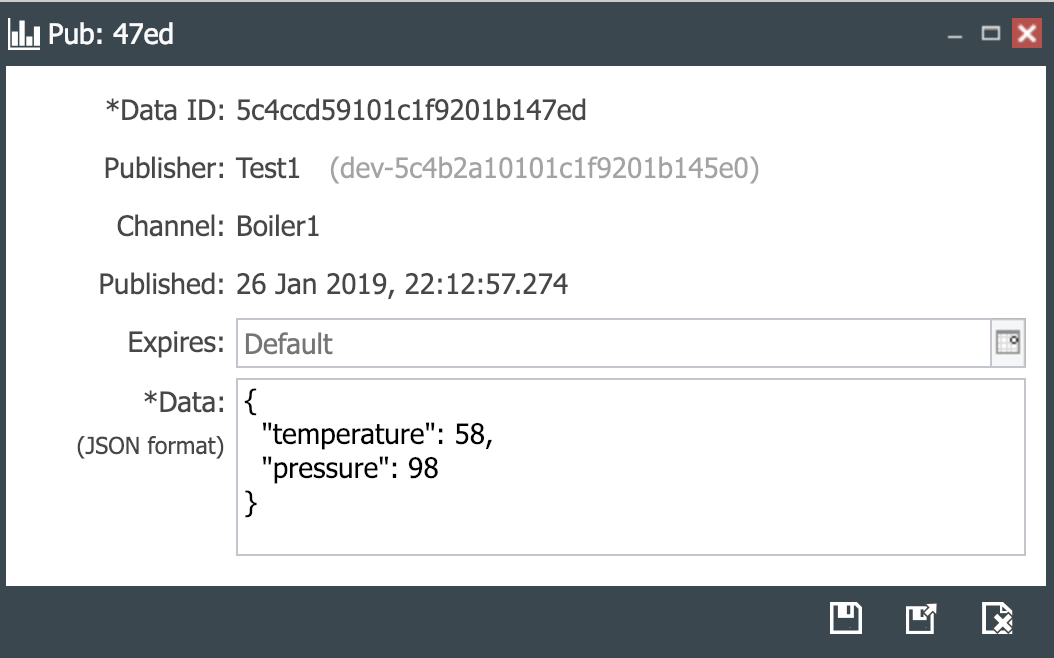 |
| 7. Verify that the Task Field Boiler exceeded 40º temperature threshold has been created in your JIRA account. | 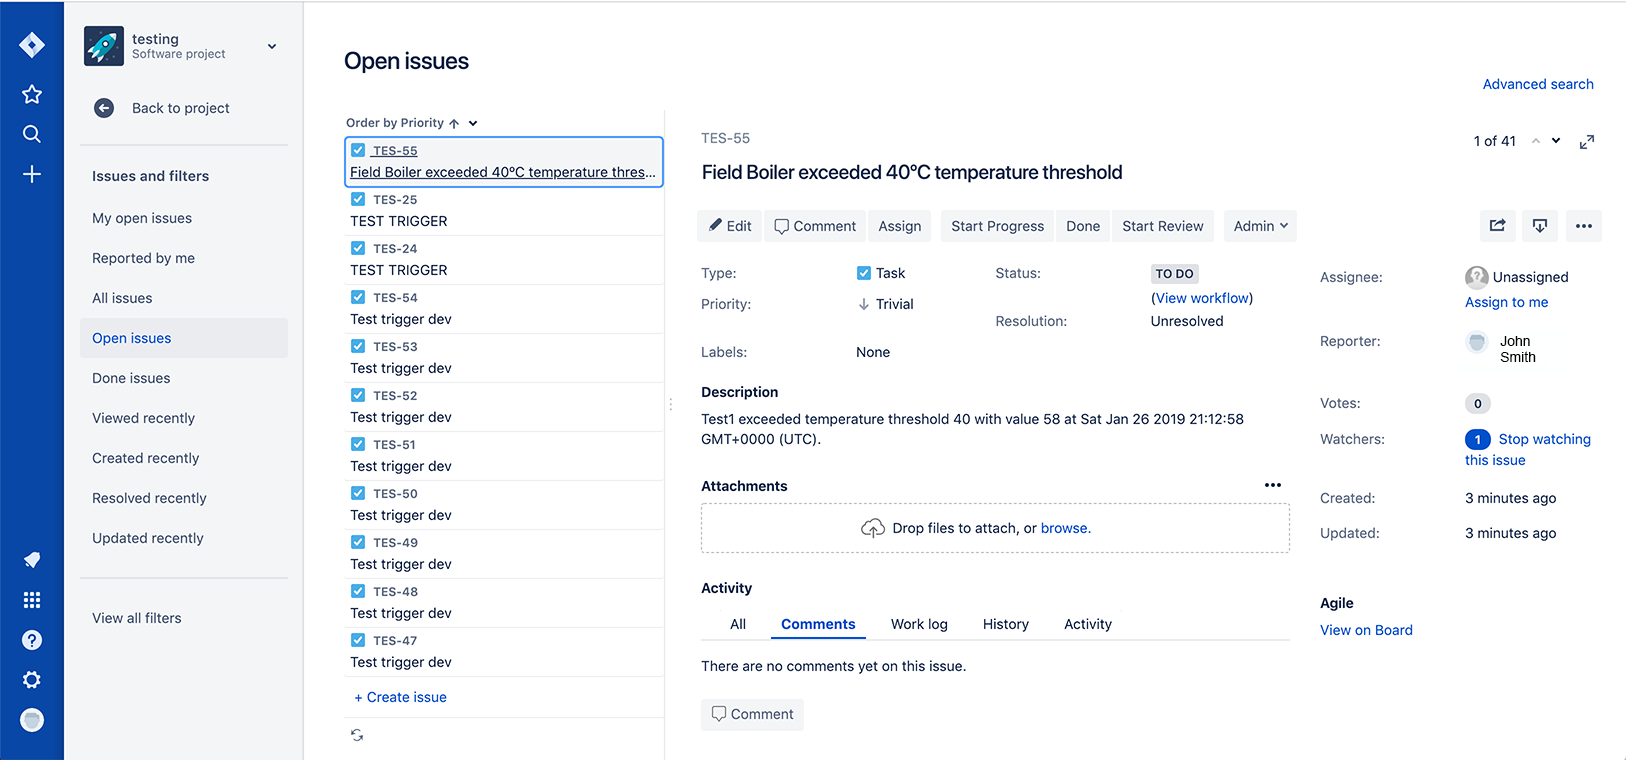 |
 CloudPlugs IoT Knowledge Base