Any Data Triggers
Overview
This guide describes the process for creating Any data Triggers. This type of trigger is available only under the Data published Event. It gets executed every time the platform receives new data irrespective of what kind of data it is.
Supported actions are:
- Near real time e-mail notifications.
- Near real time SMS notifications.
- HTTP requests.
- Publish data.
- Create a JIRA trouble ticket.
Create an Any data Trigger
To create an Any data Trigger for your Production Template, Thing or Controller:
- Open the target device from its management console.
- Select General (
 ) -> Triggers (
 ).
). - Click on the New Trigger button (
 ).
). - Give the trigger a Name and set Event as Data Published.
- Enter an existing or new channel name under Channel. Entering a Data field is optional and will start the trigger only if the property is present in the published object. You can specify a multilevel property by separating levels with dots (Eg:
temperature.external). - Set the Rule Type as Any data.
- Select and customize the actions to be executed every time new data is received by the platform. You can set multiple actions for the same trigger and use the Special Symbols available to program the actions.
- Save the trigger.
- Save the device.
Full Example
Here is a full example on how to create and test an Any data Trigger on a channel called any_data.
Follow the steps above to:
| 1. Create an Any data Trigger called Any data alerts on channel any_data. We will publish different types of data for the test. | 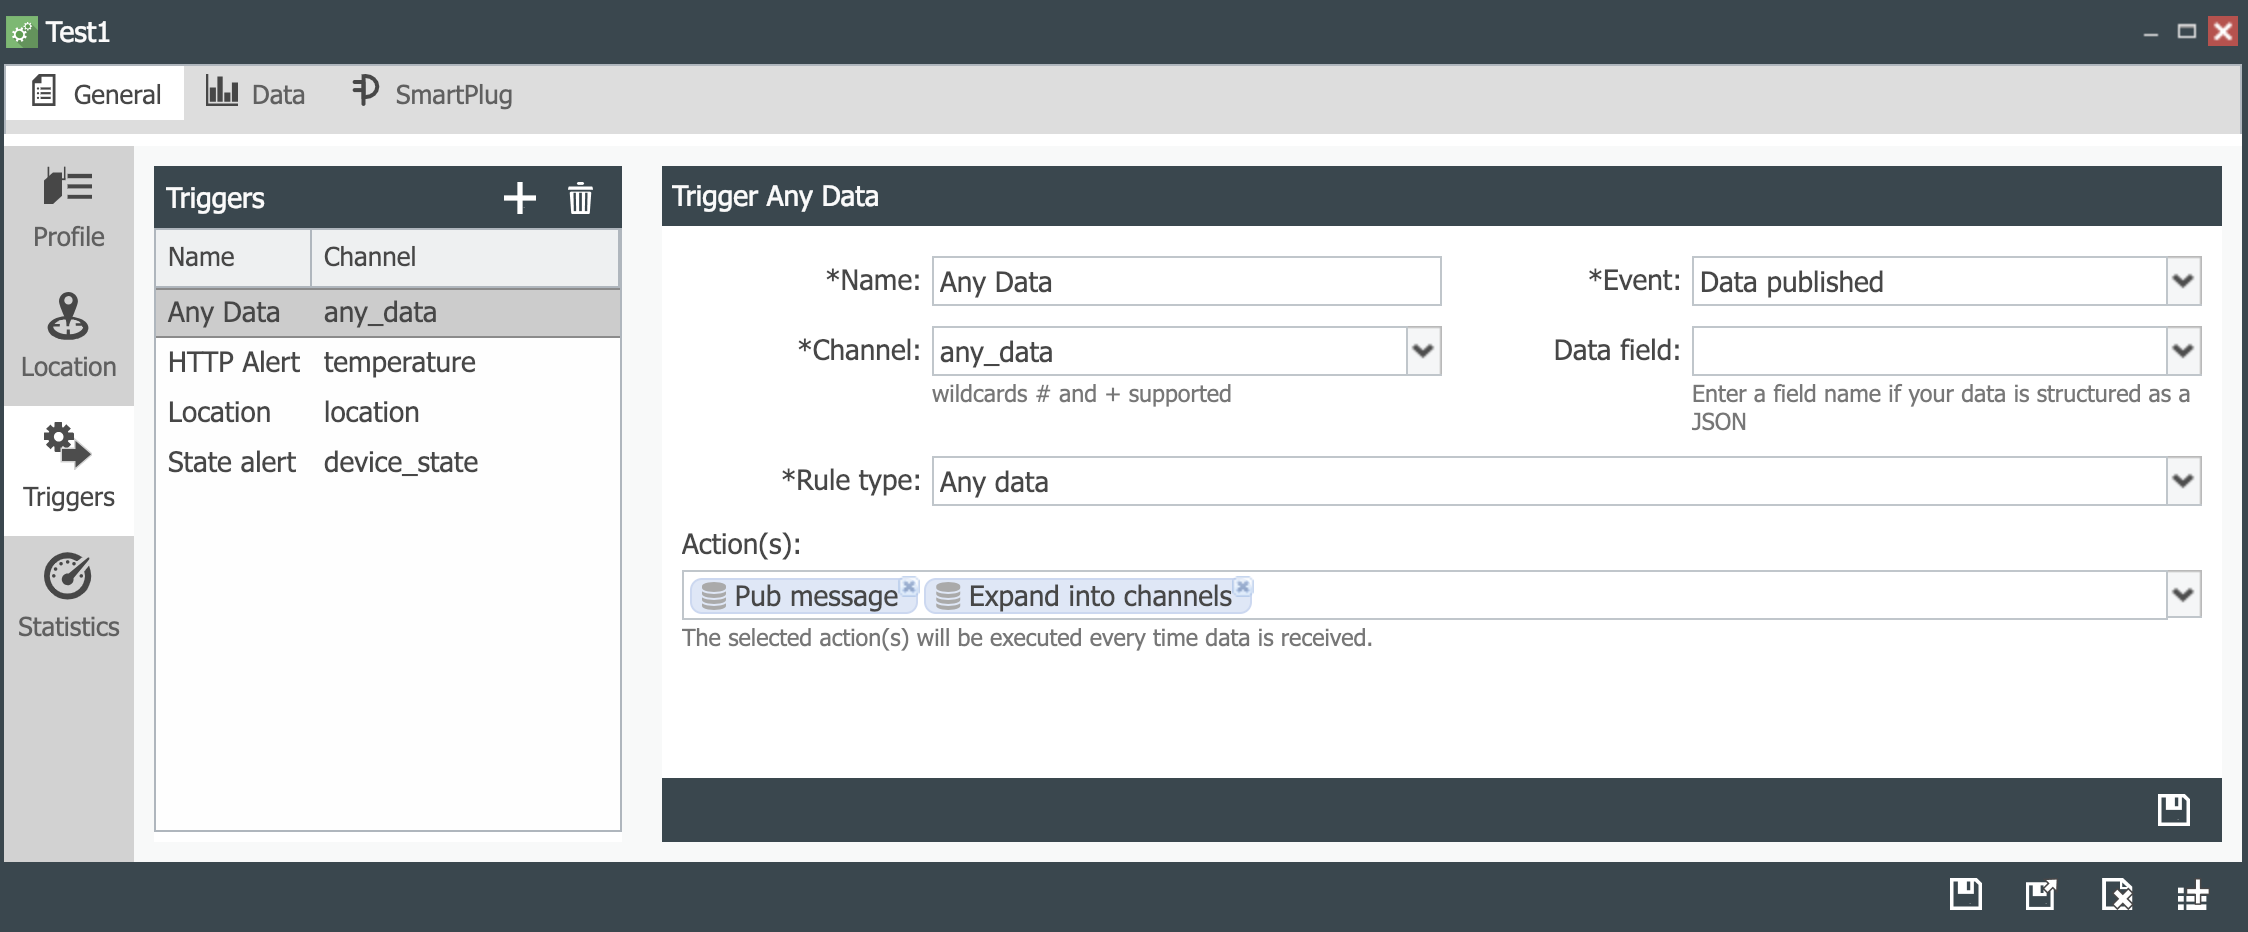 |
| 2. Create and save a Publish Data action called Pub message, which publishes a message on a channel called message. |  |
| 3. Create and save an Publish Data action called Expand into channels which uses the expand operation on Published data to create a new channel called expanded_channel, and in this channel creates subchannels from the data fields of a structured JSON. The data field values are published on their new respective channels. | 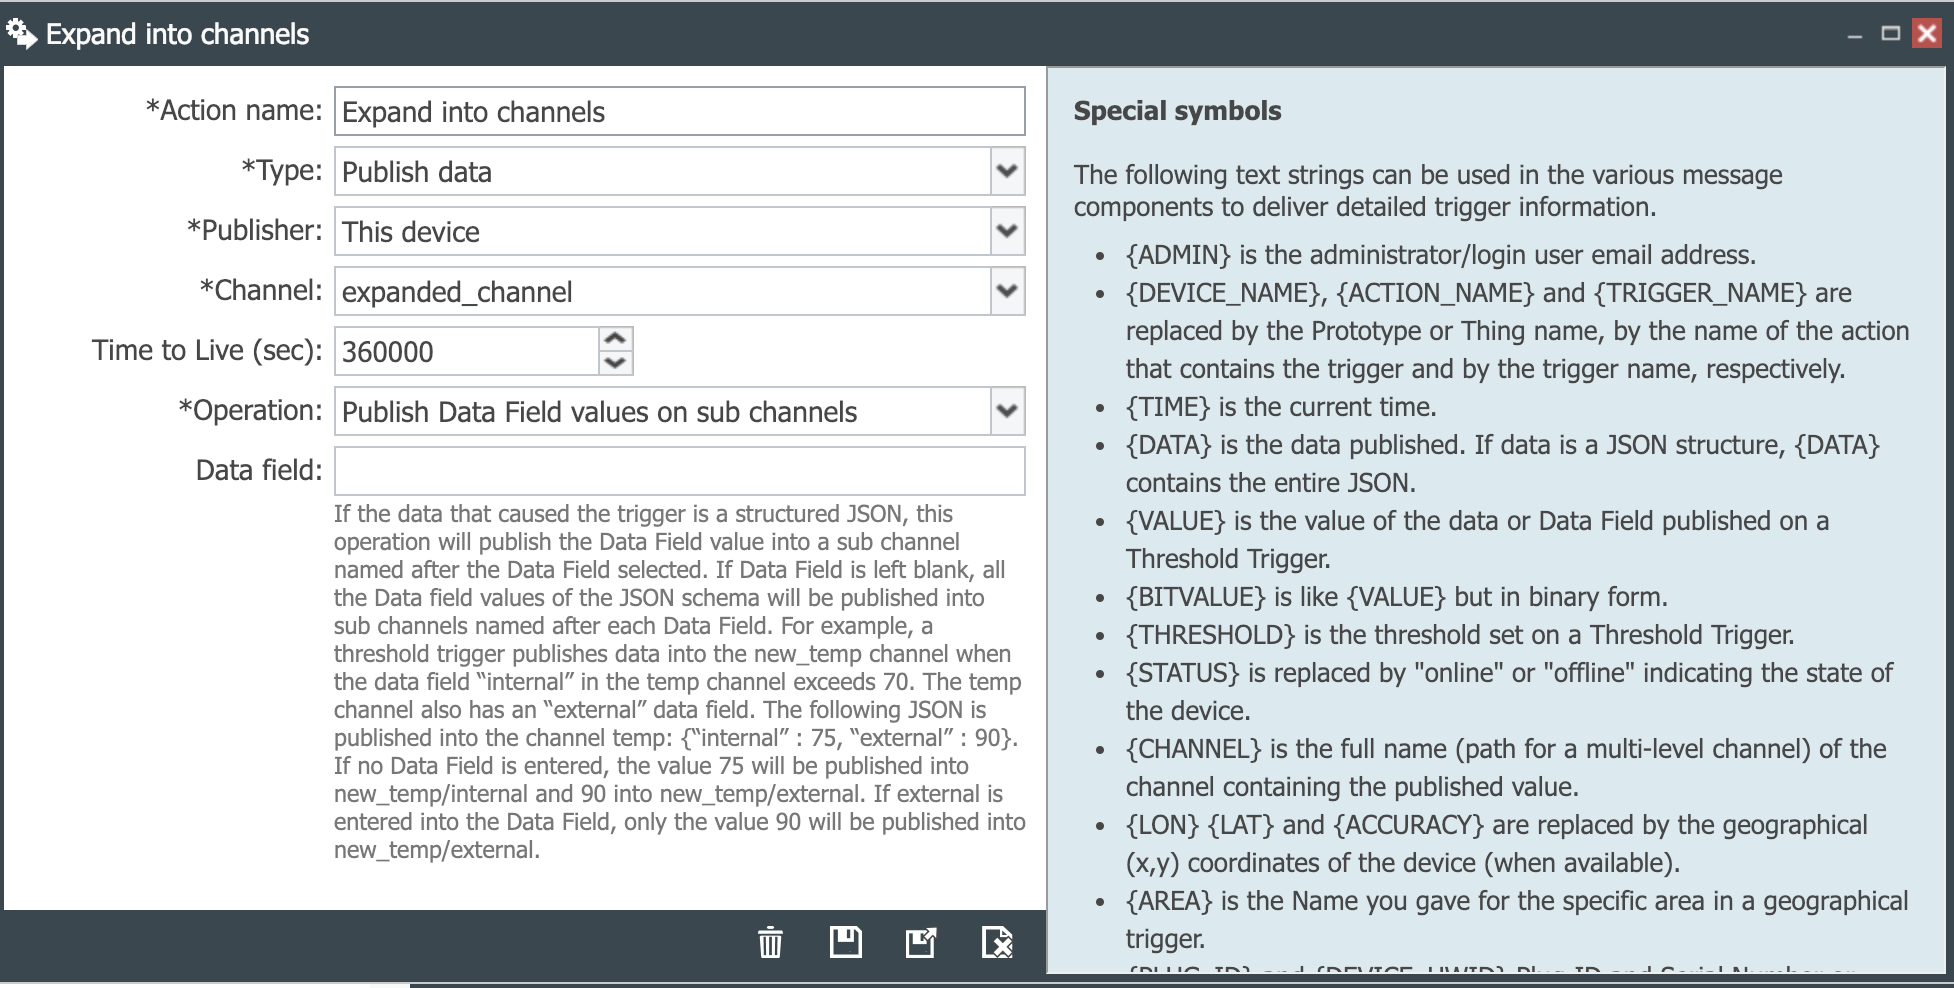 |
| 4. Save the trigger, then Save the device. |  |
| 5. Publish the JSON {“internal”:77,“external”:88,“1st floor”:74,“2nd floor”:79} on channel any_data. | 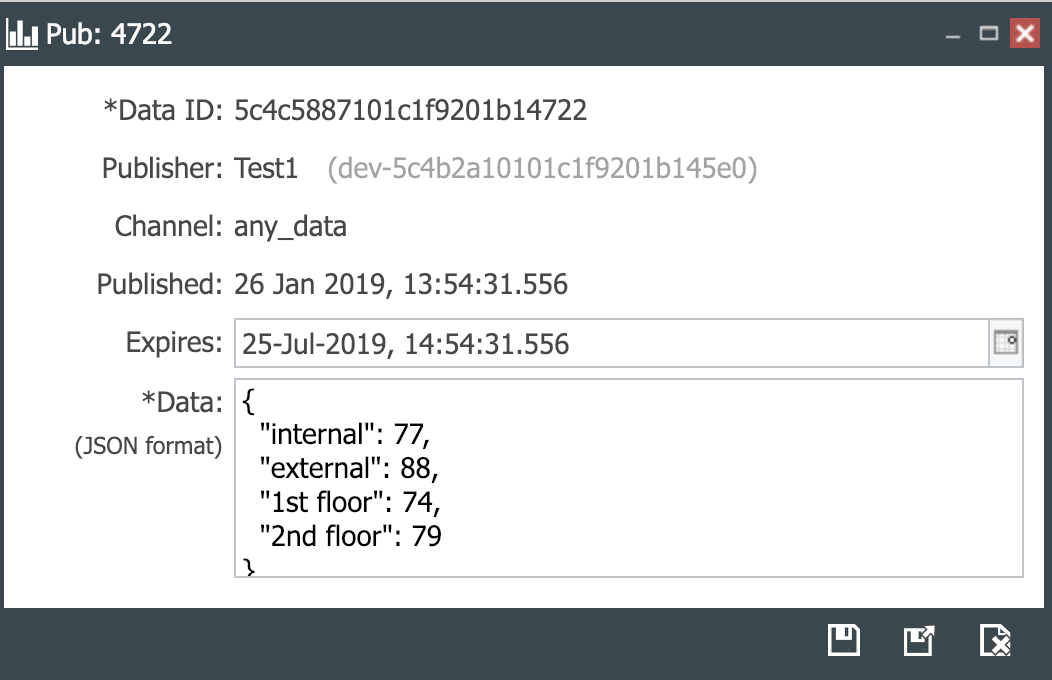 |
| 6. Publish the JSON {“internal”:68,“external”:88,“1st floor”:78,“2nd floor”:72} on channel any_data. | 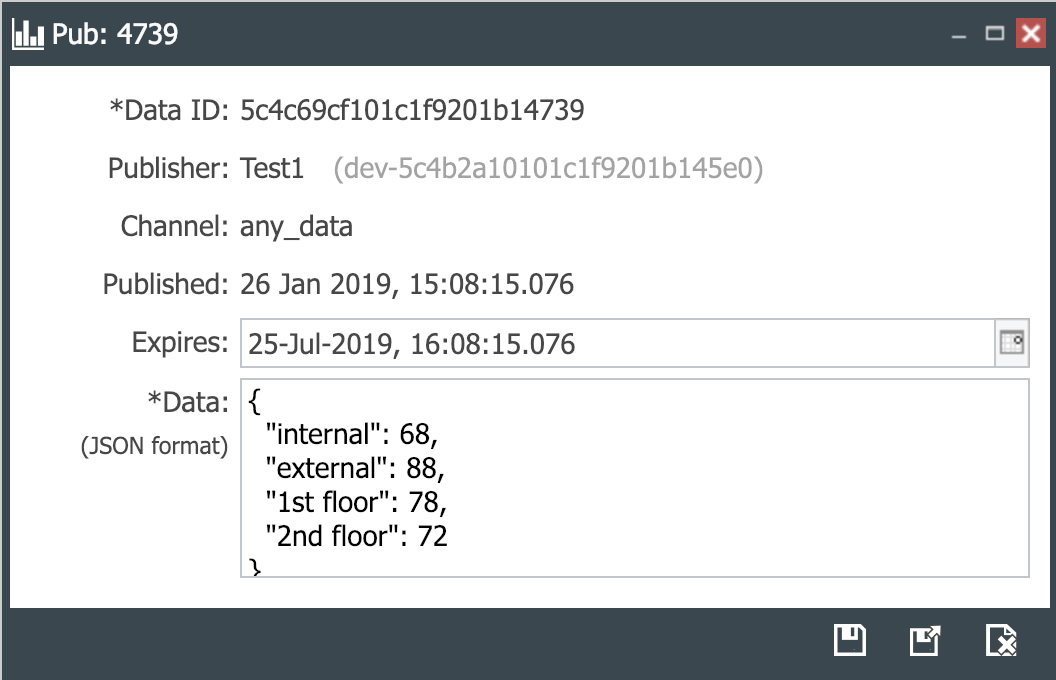 |
| 7. Publish the JSON {“internal”:73,“external”:68,“1st floor”:70,“2nd floor”:74} on channel any_data. | 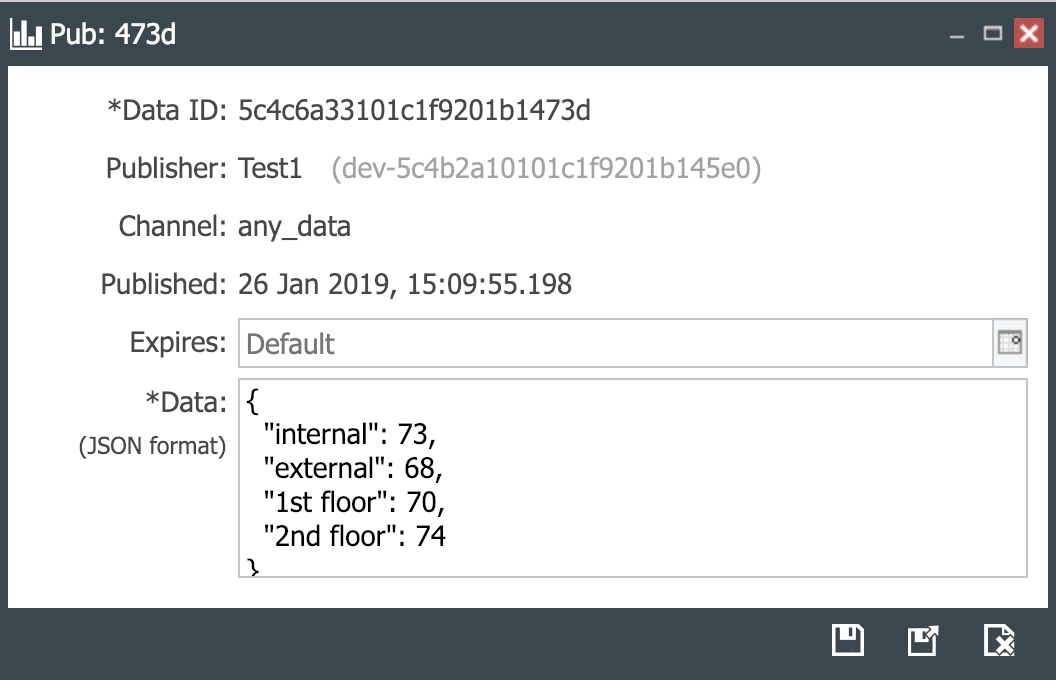 |
| 8. The published data any_data channel displays the following data. Note that we have also selected its Data view to see a chart of the data. | 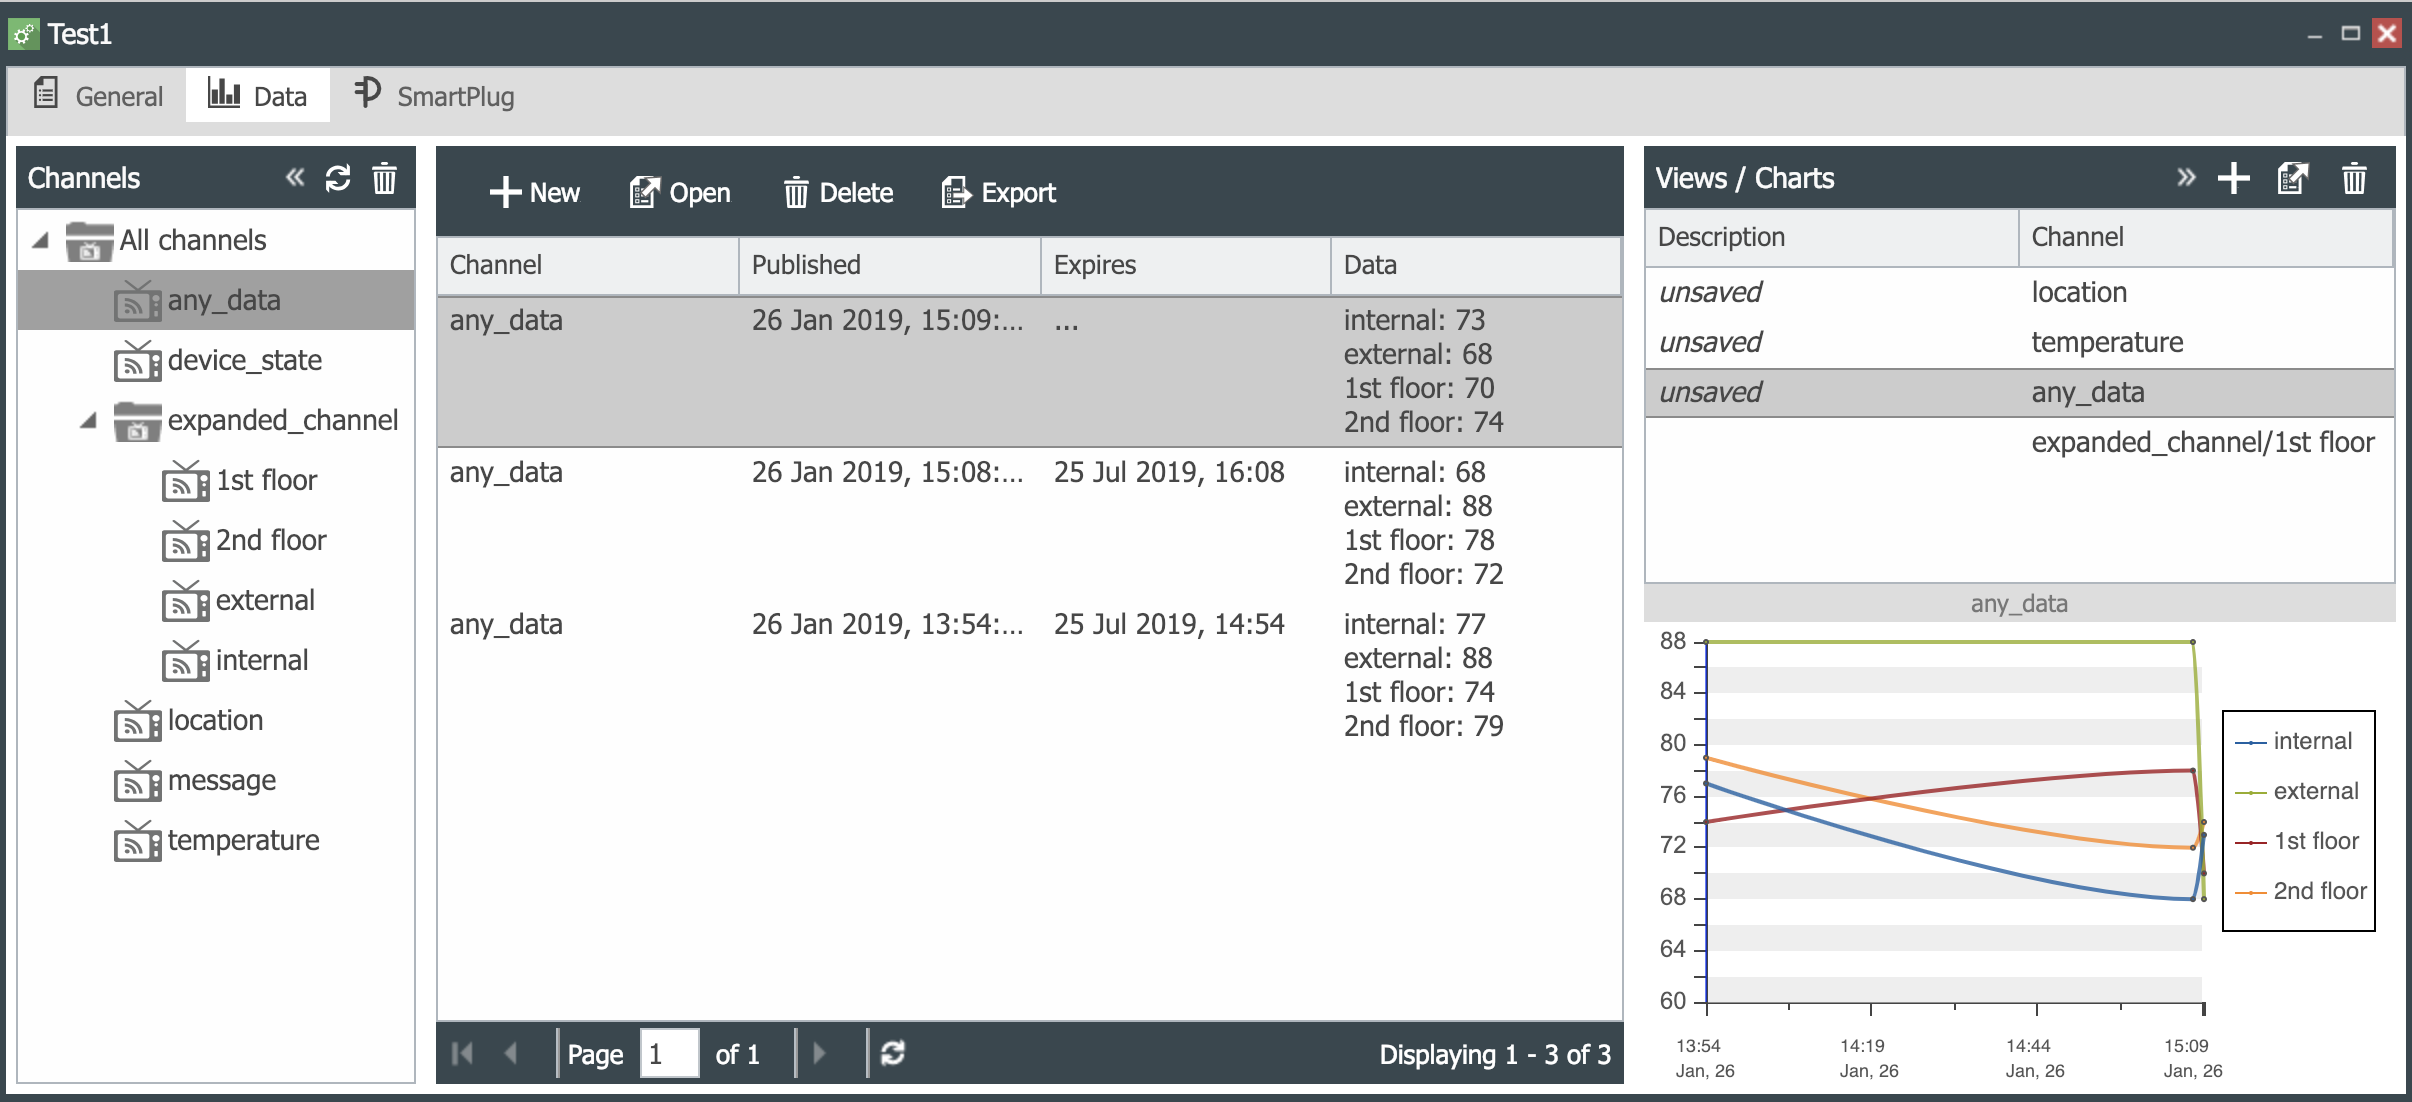 |
| 9. Verify that (i) channel message has a new message; and (ii) channel expanded_channel has now four sub-channels called internal, external, 1st floor, and 2nd floor with 3 data points each. | 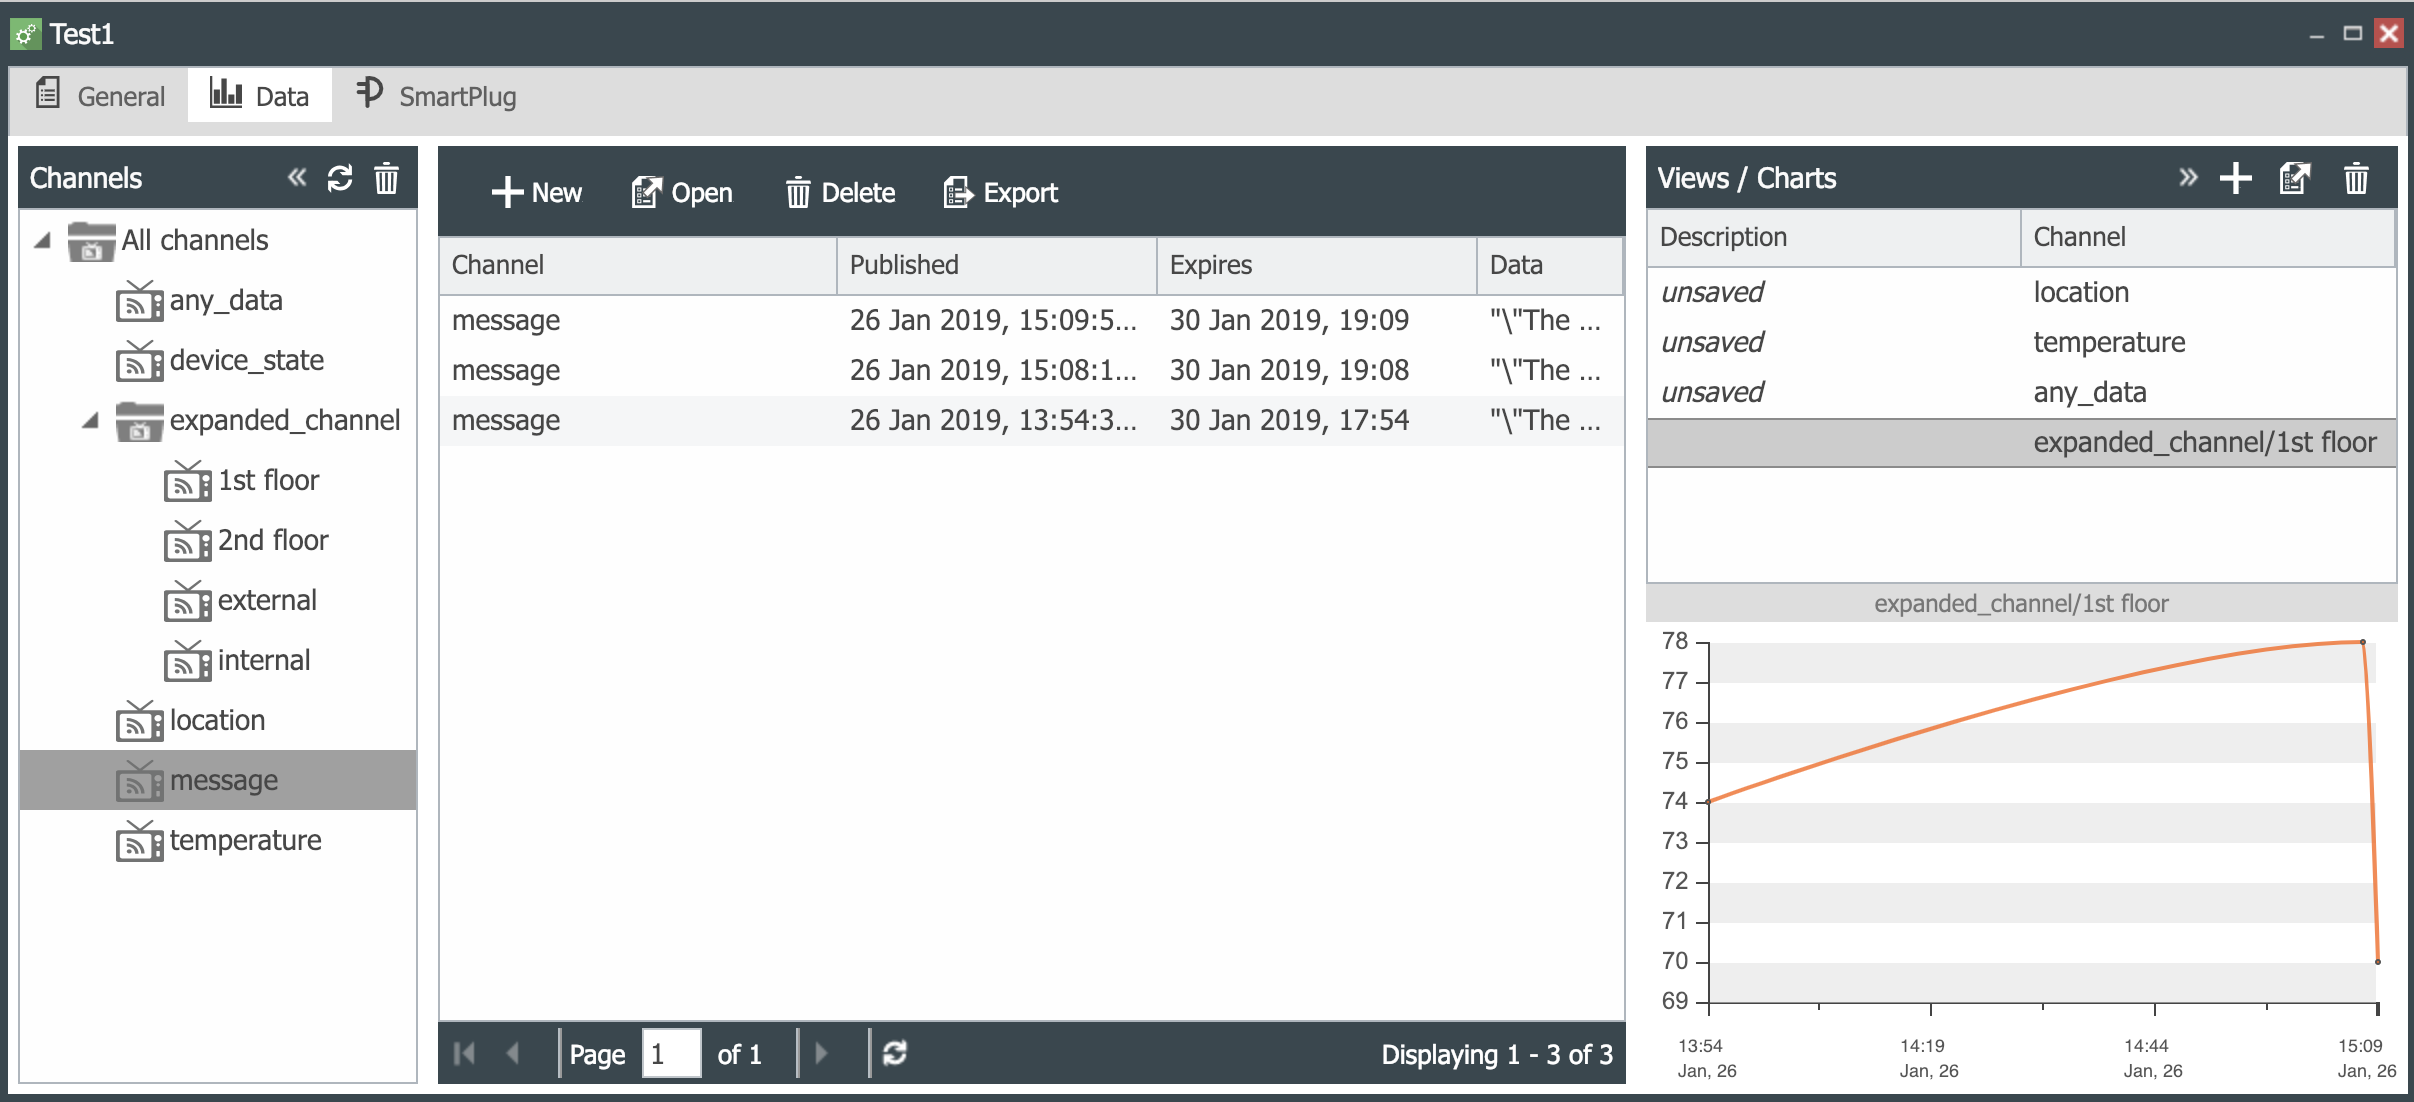 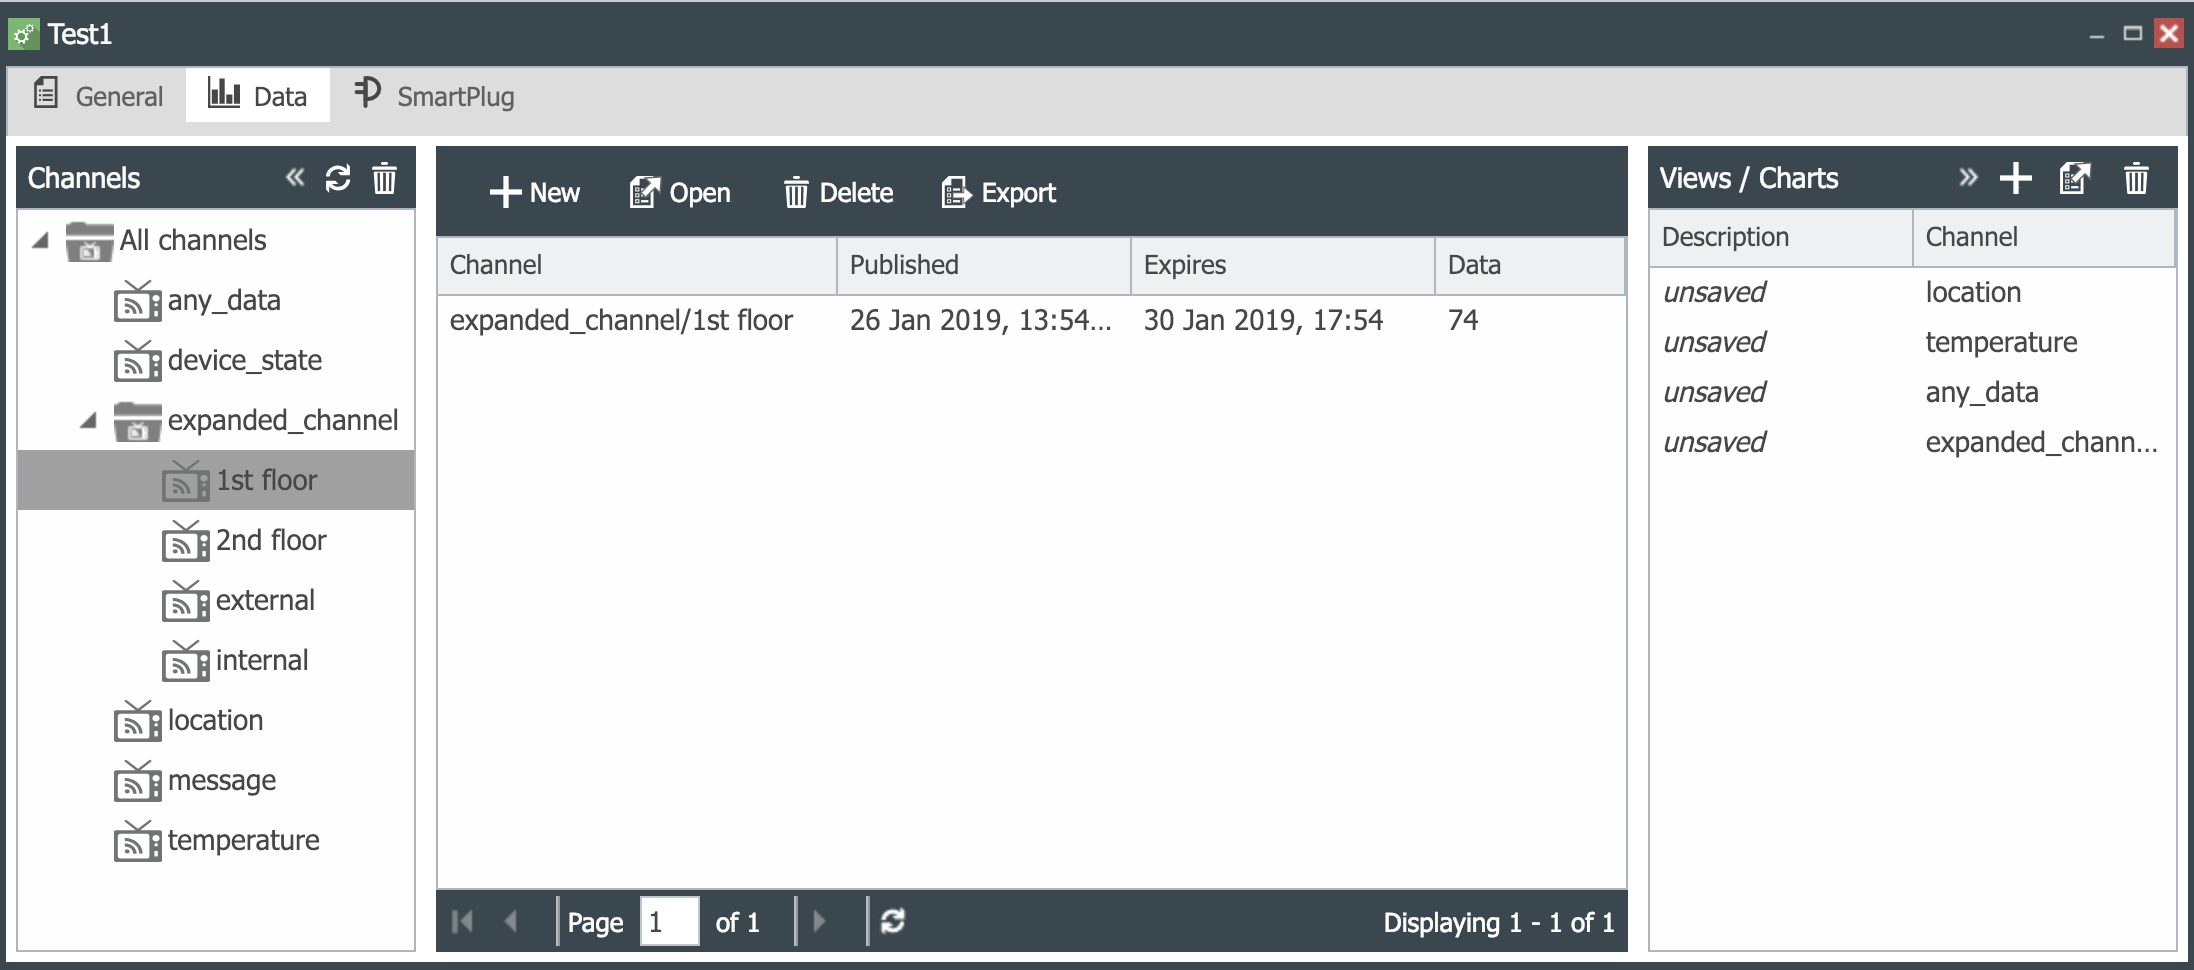 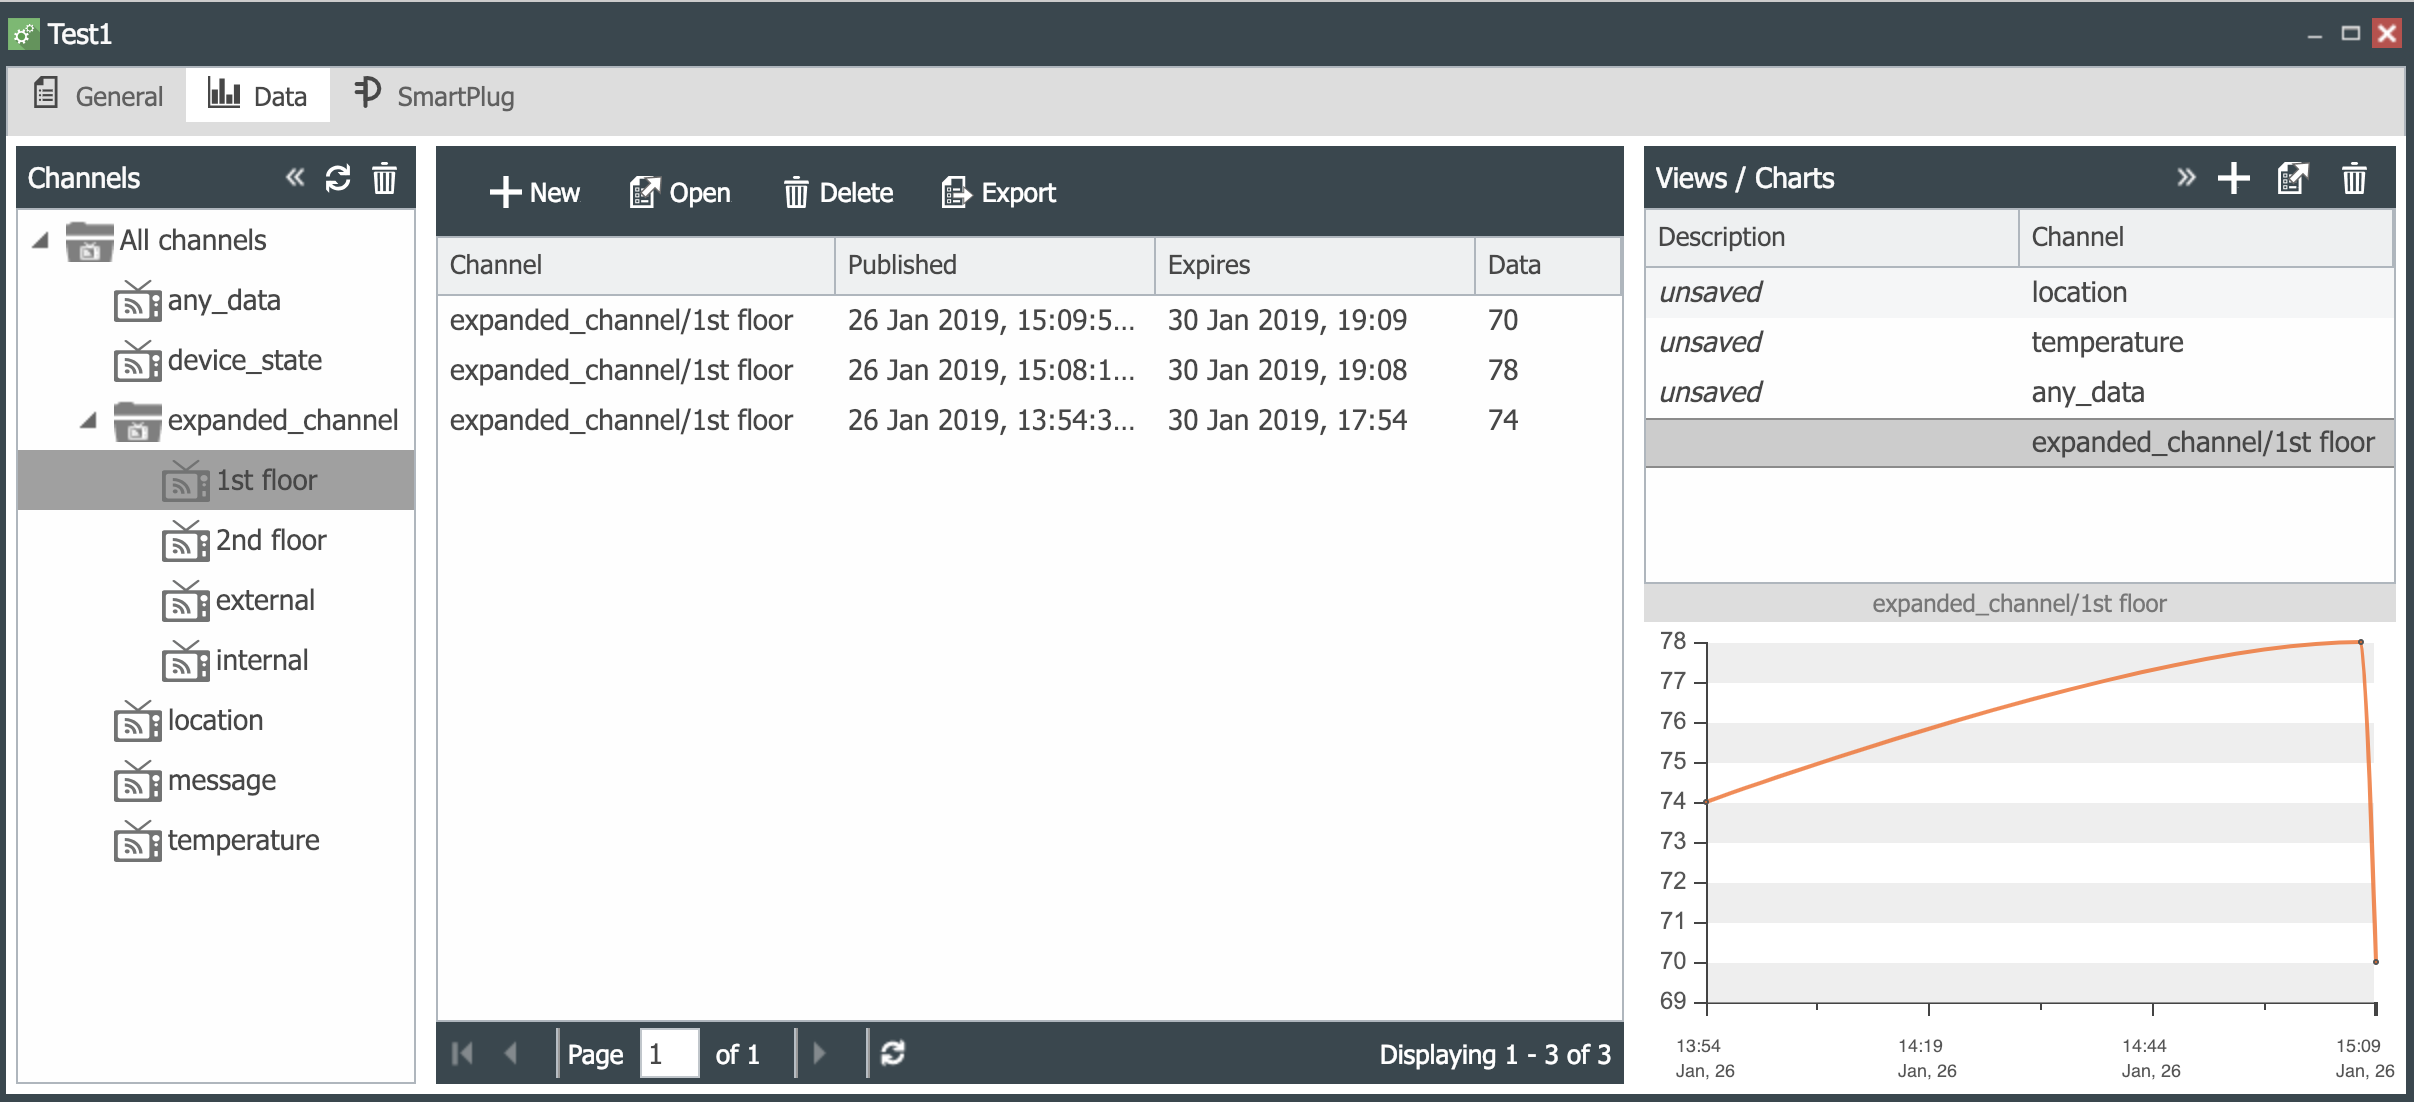 |
| 10. Open the channel message to verify that it has a message published. To view the message, open the published data. |  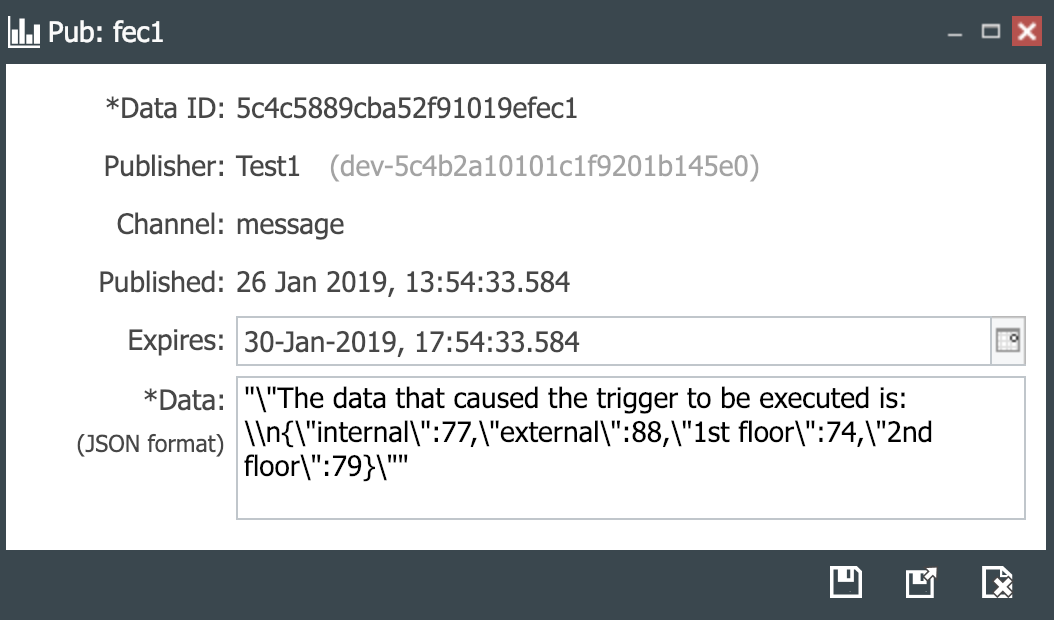 |
 CloudPlugs IoT Knowledge Base