Bit Mask Triggers
Overview
This guide describes the process for creating Bit Mask triggers. These triggers allow to configure rules and actions based on the values of bits of the published data.
The published data values are considered to be 32-bit numbers. Therefore, a data point with value of “2” (binary 10) would be considered as 00000000000000000000000000000010 and the bit mask can be used addressing all the available bits in the number.
Bits are indexed or numbered form right to left starting with 0 for the least significant bit. Therefore, for a data value of 2 (binary 000010), bit 0 is 0, bit 1 is 1, bit 2 is 0, bit 3 is 0 and so on.
Bit mask operations use the bit index or number to address a particular bit. For example, to perform an OR of bit 0 and 2, the operation is expressed as (0 | 2 ). Spaces between numbers and boolean operators are ignored. Parenthesis may be used to
- OR which uses the symbol ( | ).
2 | 3 |4 |6
performs an OR of the 3rd, 4th, 5th and 7th bits of the data received.
- XOR which uses the symbol ( ^ ).
3 ^ 7
performs an XOR of the 4th and 8th bits of the data received.
- AND which uses the symbol ( & ).
2 & (0 | 5)
performs the OR of the least significant bit and the 6th bit and and the result is further computed with an AND with the 3rd bit.
- NOT which uses the symbol ( ! ). It must be used in front of the bit or expression to which it will apply
! 0 | ! (3 & 4)
performs the AND of the fourth and 5th bits, then performs a NOT of the most significant bit, then the NOT of the AND and then the OR of both results.
NOT has the highest priority then AND and then OR.
There are four options to create actions:
- The result of the bit mask becomes “1”. This assumes that the previous value was “0”.
- The result of the bit mask is “0”. This assumes that the previous value was “1”.
- The result of the bit mask remains “1”. The previous value was “1” and the new value is still “1”.
- The result of the bit mask remains “0”. The previous value was “0” and the new value is still “0”.
The State is entered as a regular string, not as a JSON. If you want to enter ON, simply type ON.
Supported actions are:
- Near real time e-mail notifications.
- Near real time SMS notifications.
- HTTP requests.
- Publish data.
- Create a JIRA trouble ticket.
Create a Bit Mask Trigger
To create a Bit Mask Trigger for your Production Template, Thing or Controller:
- Open the target device from its management console.
- Select General (
 ) -> Triggers (
 ).
). - Click on the New Trigger button (
 ).
). - Give the trigger a Name and set Event as Data Published.
- Enter an existing or new channel name under Channel, and enter or select a Data field if the State is published in a structured JSON data field.
- Set the Rule Type as Bit mask.
- Click on the Add rule button (
 ) to create a new rule.
 - Enter the Bit mask that the Trigger will test against and select and customize the actions for the results of the bit maks computations. You can set multiple actions for the same trigger and use the Special Symbols available to program the actions. See the example below.
- Save the trigger.
- Save the device.
Bit Mask Trigger Example
Here is an example on how to create and test a Bit Mask Trigger on a device called AGT_002, but you can create the trigger on a connected Thing or on a Production Template which after it is saved will deploy the trigger in its Things that have already enrolled. We will use a channel called device_data. In the example, when the computation of the bit mask is 1 and the previous value was null or 0, we send an email saying that the device’s valve is set to ON. If the previous value was 1, we send an email saying that the valve remains ON. When the computation is 0 and the previous value was null or 1, we send an email saying that the device’s valve is set to OFF. If the previous value was also 0, the email says that the valve remains OFF.
If you do not have any devices:
Create and enroll a Thing device using the steps described in the Getting Started Guide. Then follow the steps above to create a Bit mask trigger called Alert-1 with Event type Data published on channel device_data. We will publish single values; therefore, no JSON Data fields exists for this test. Then follow the steps below to test trigger using email actions.
| 1. Add a new Rule by clicking on the New Rule icon ( |
|
2. Add the bit mask in the window to set up the options for the trigger rule as follows 1 & (0 | 3) & 4 | 5 |
|
| 3. Under Result becomes 1, create and save an email notification action called Becomes 1 email. | 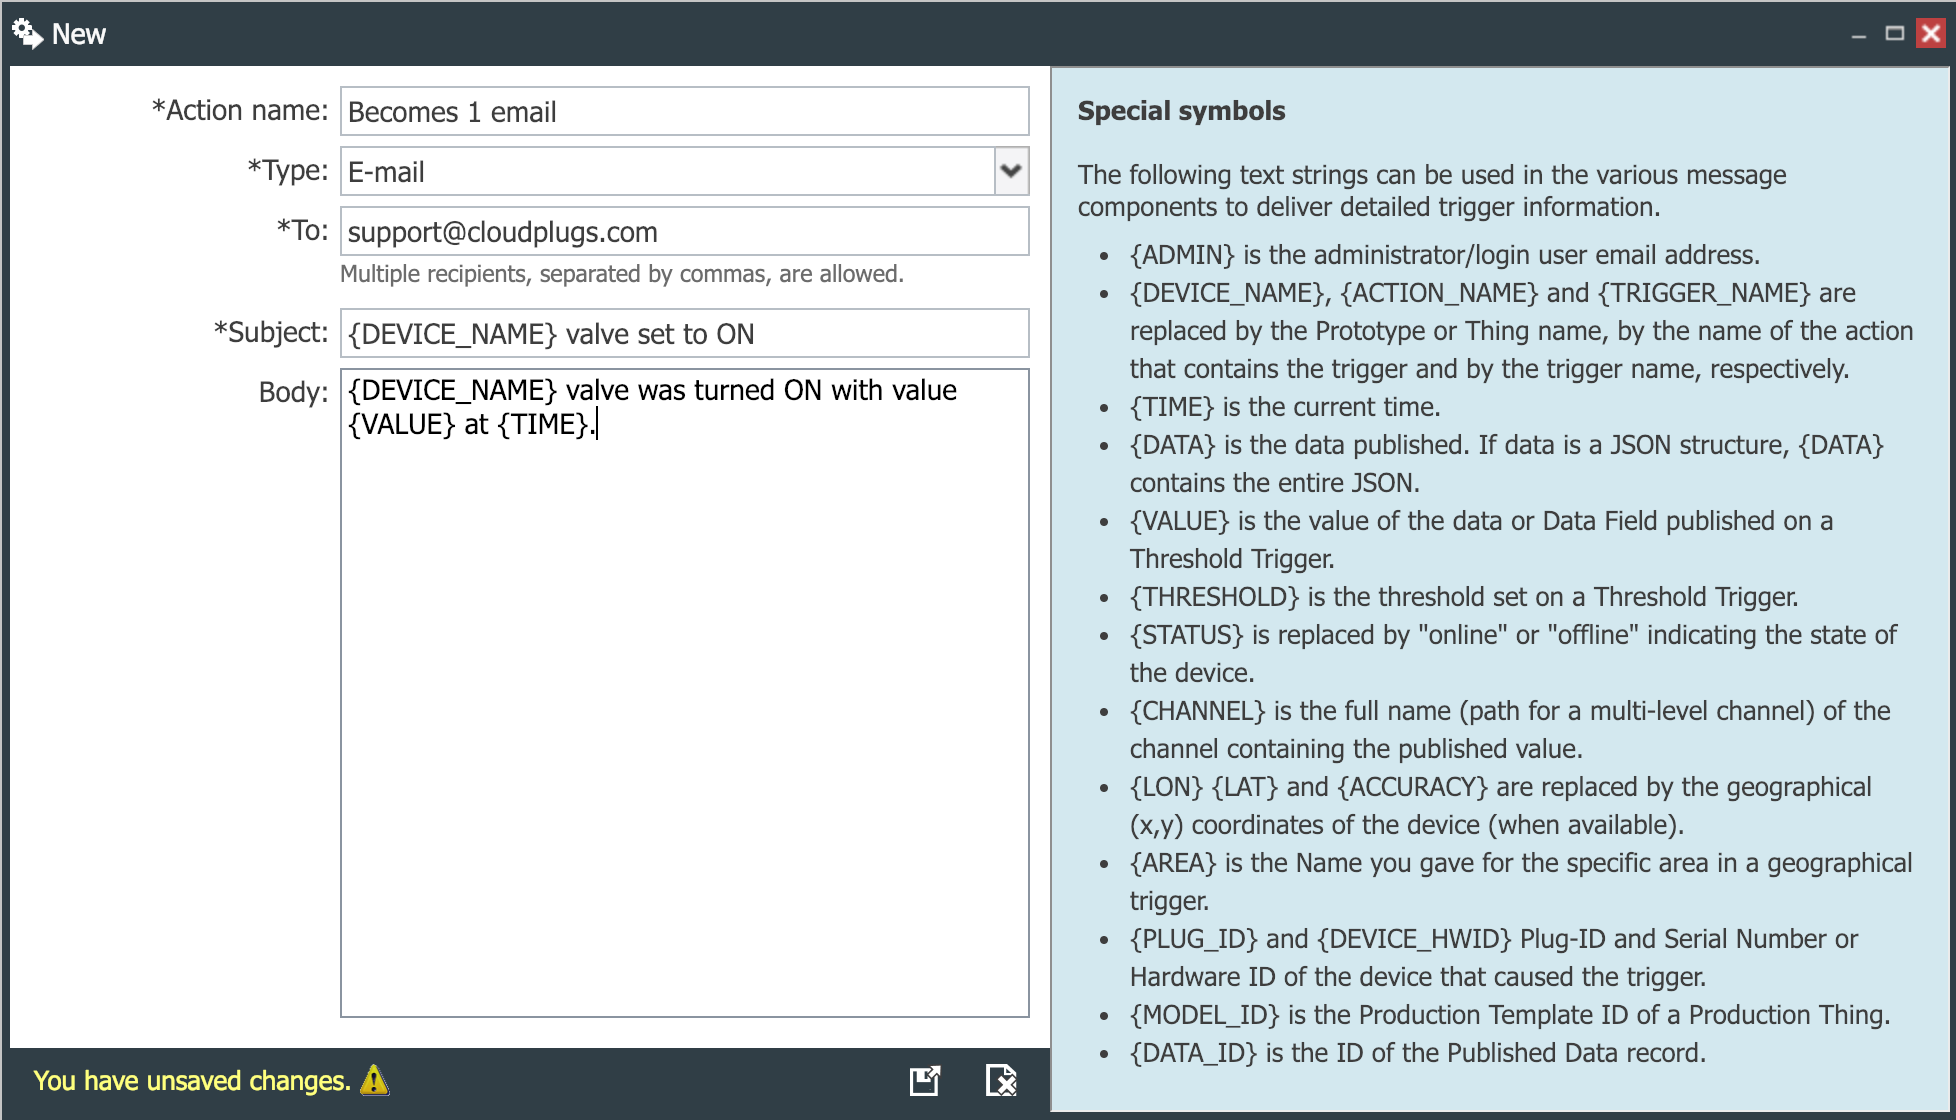 |
| 4. Under Result becomes 0, create and save an email notification action called Becomes 0 email. | 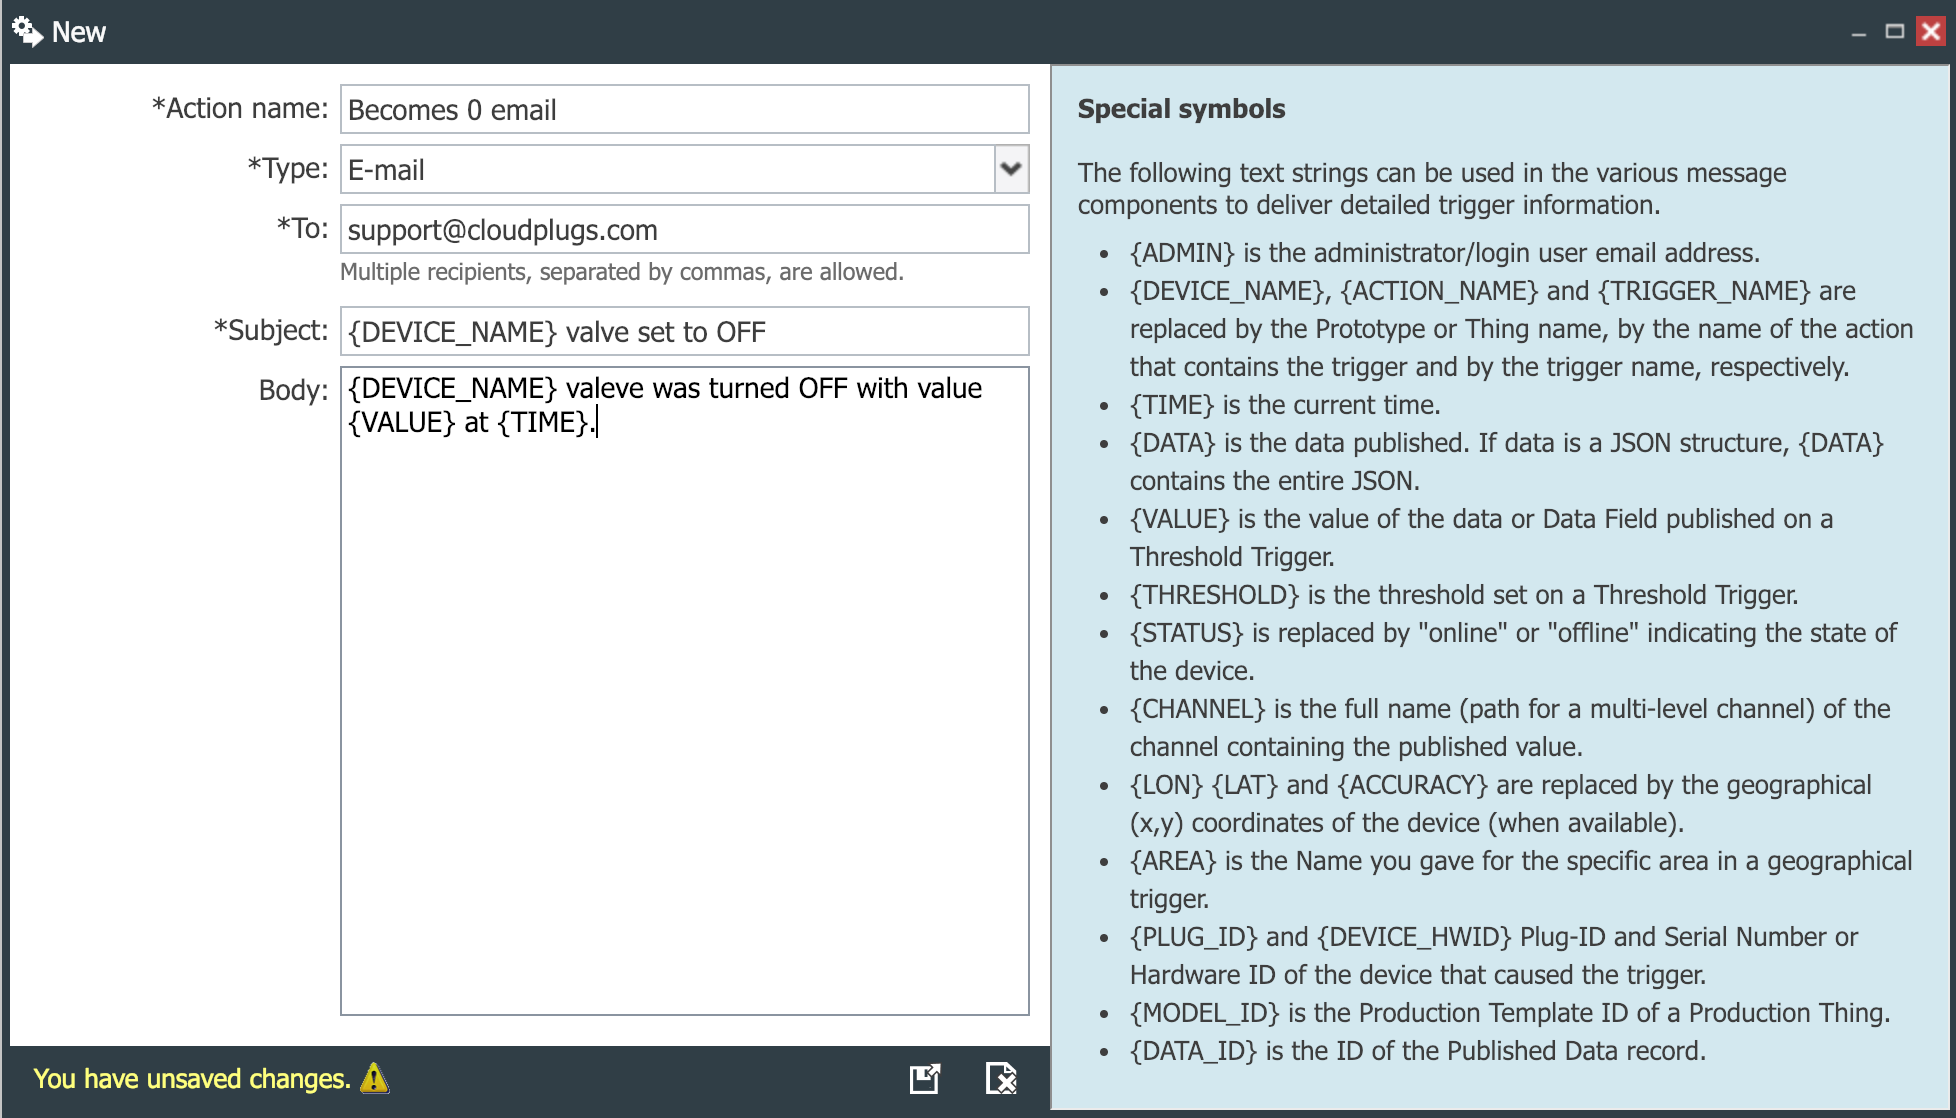 |
| 5. Under Result stays 1, create and save an email notification action called Remains 1 email. | 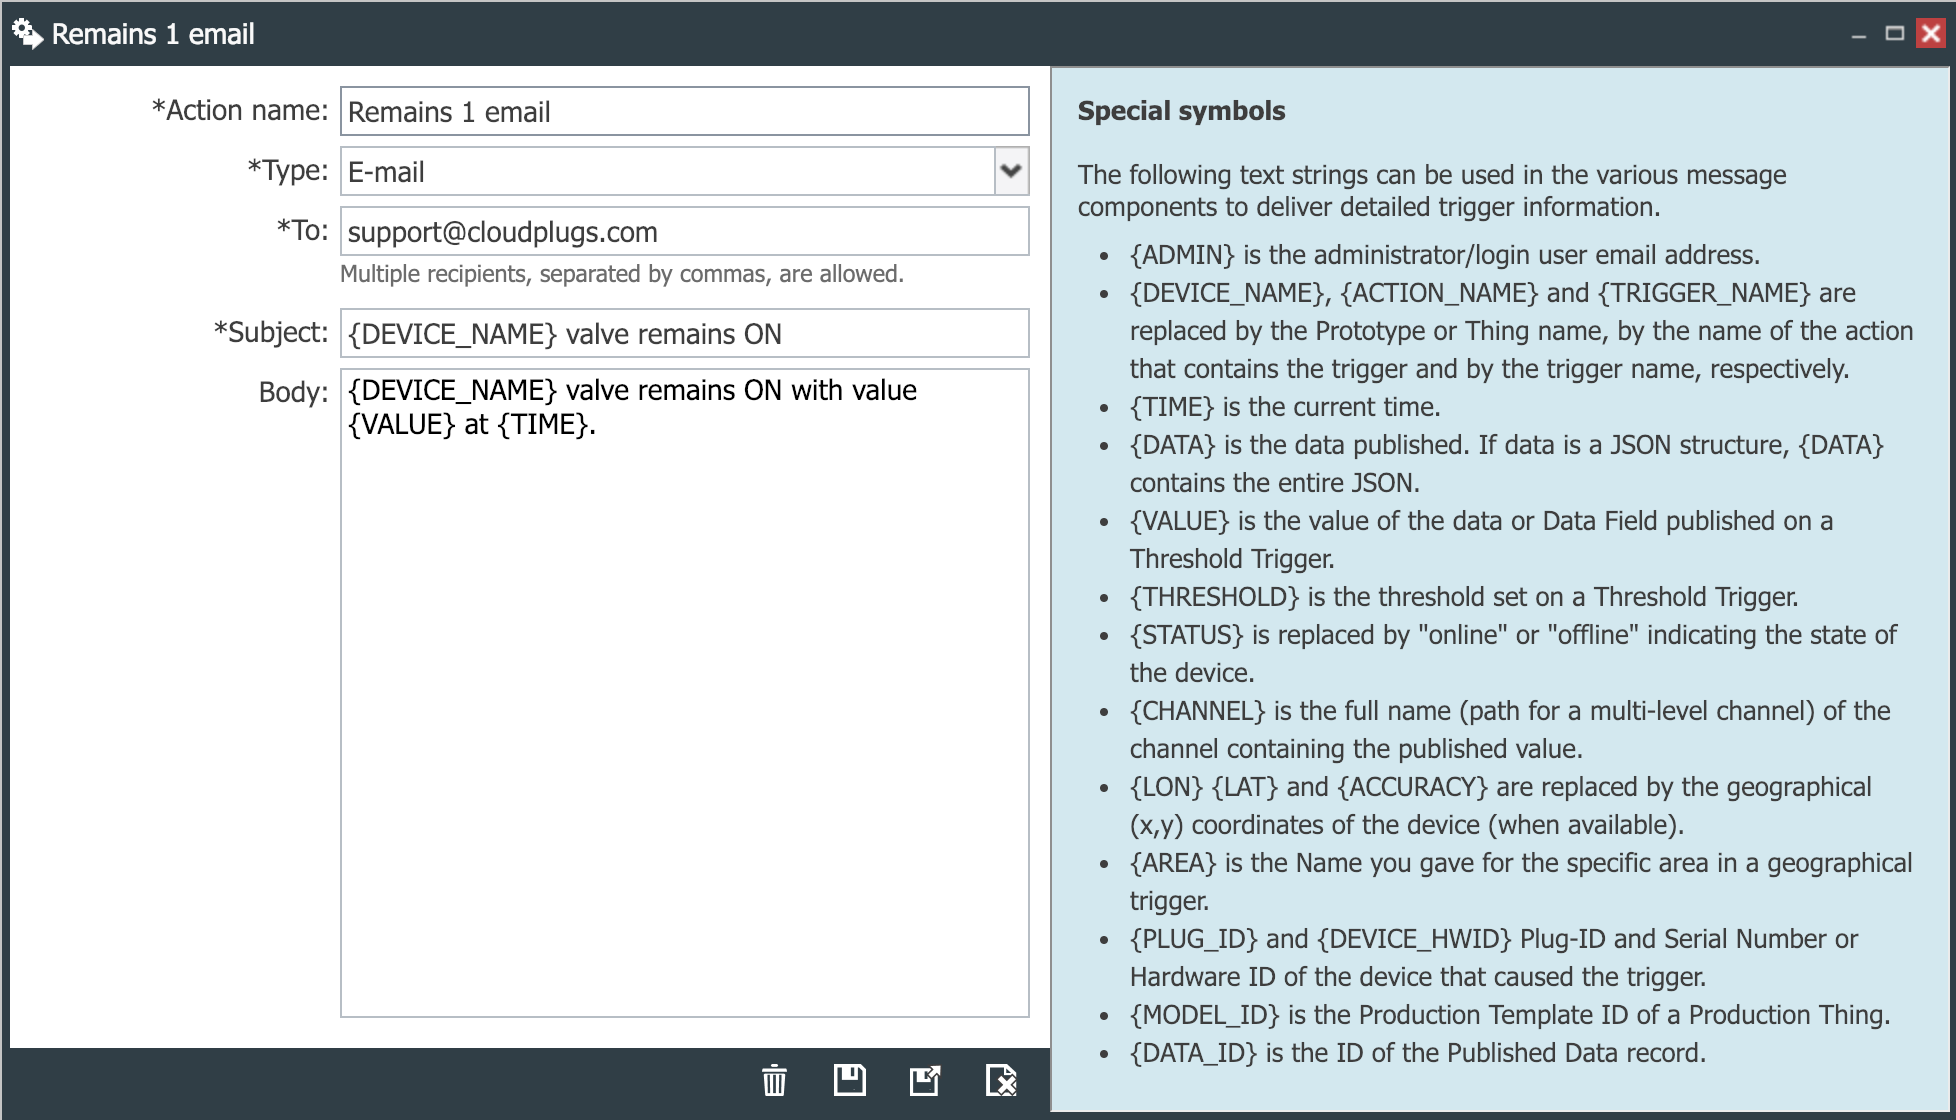 |
| 6. Under Result stays 0, create and save an email notification action called Remains 0 email. | 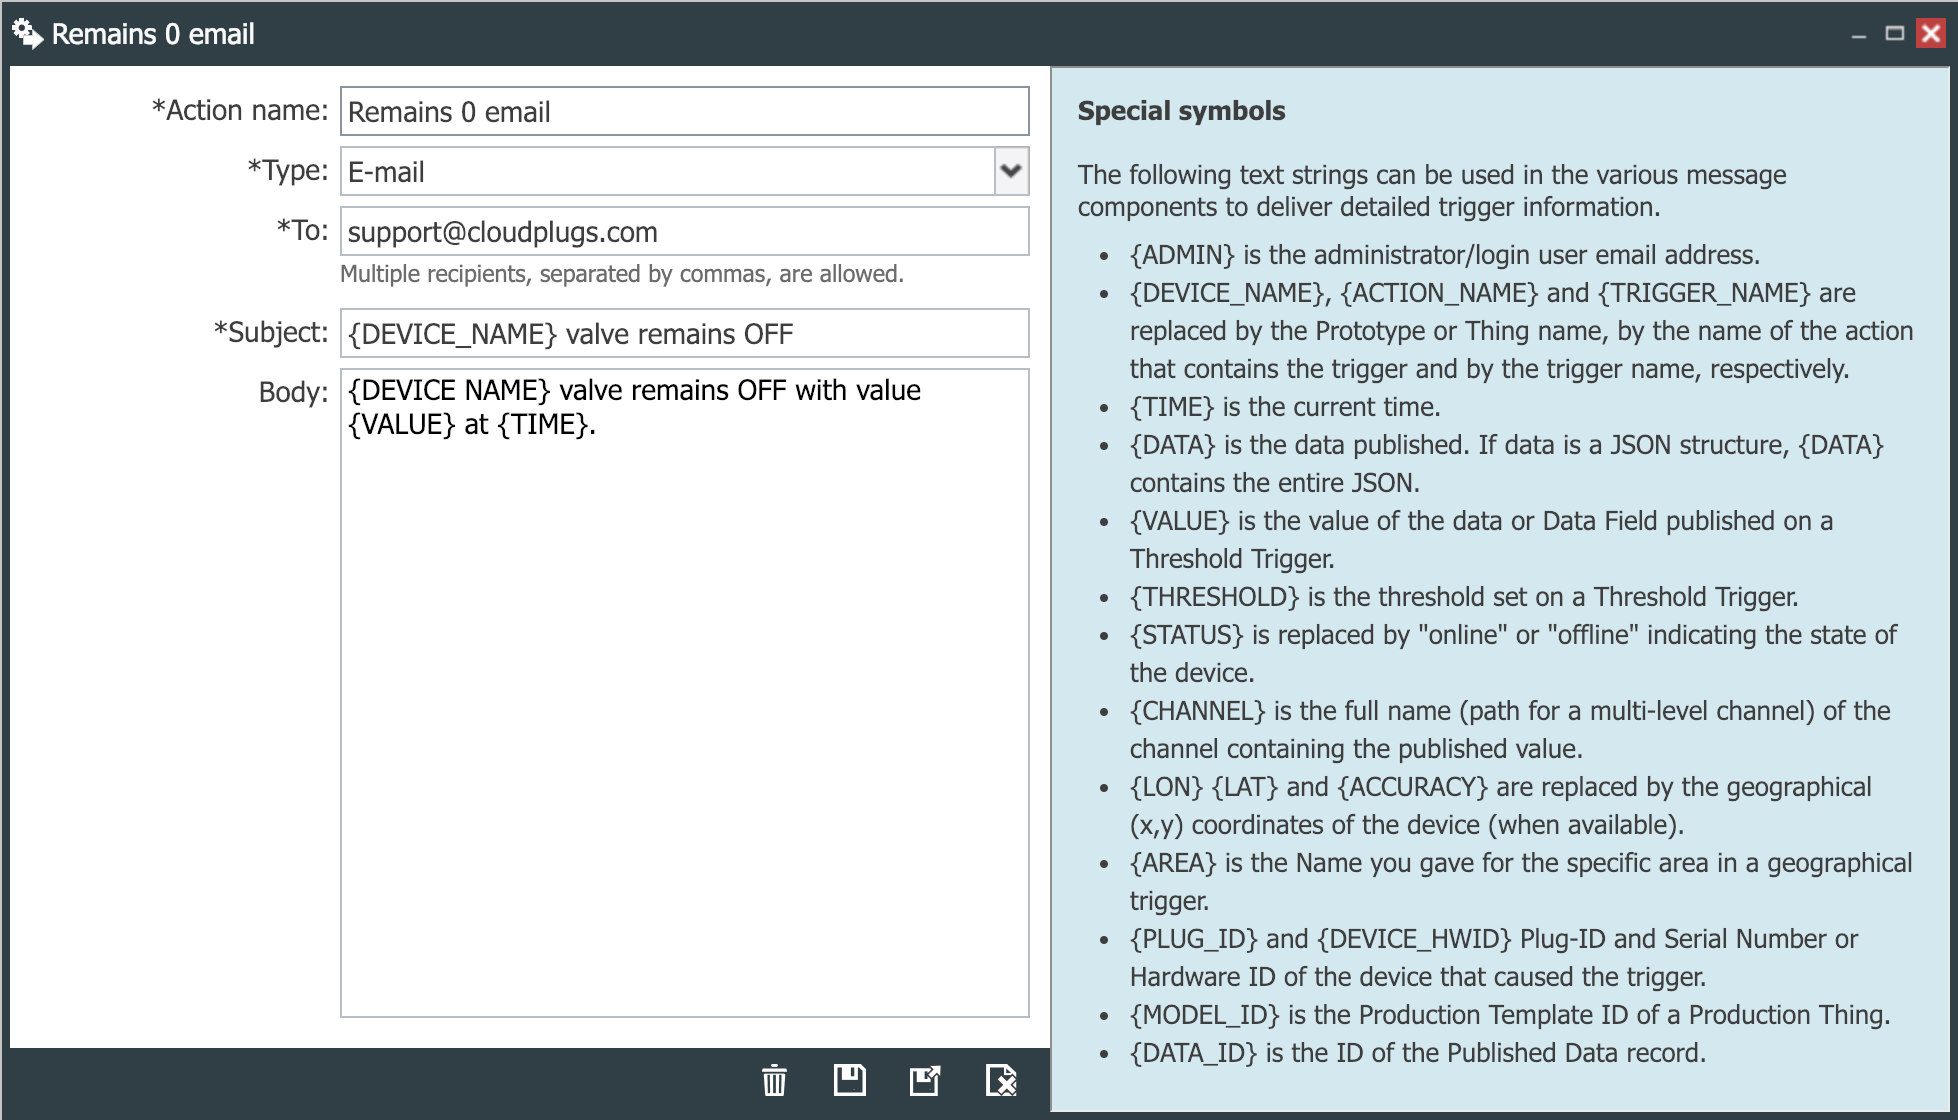 |
| 7. Save the actions. | 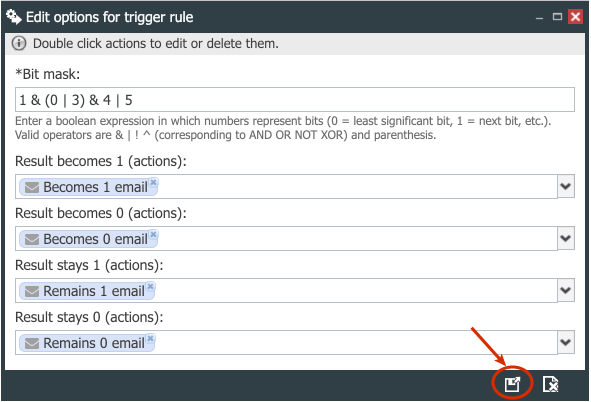 |
| 8. Save the trigger. | 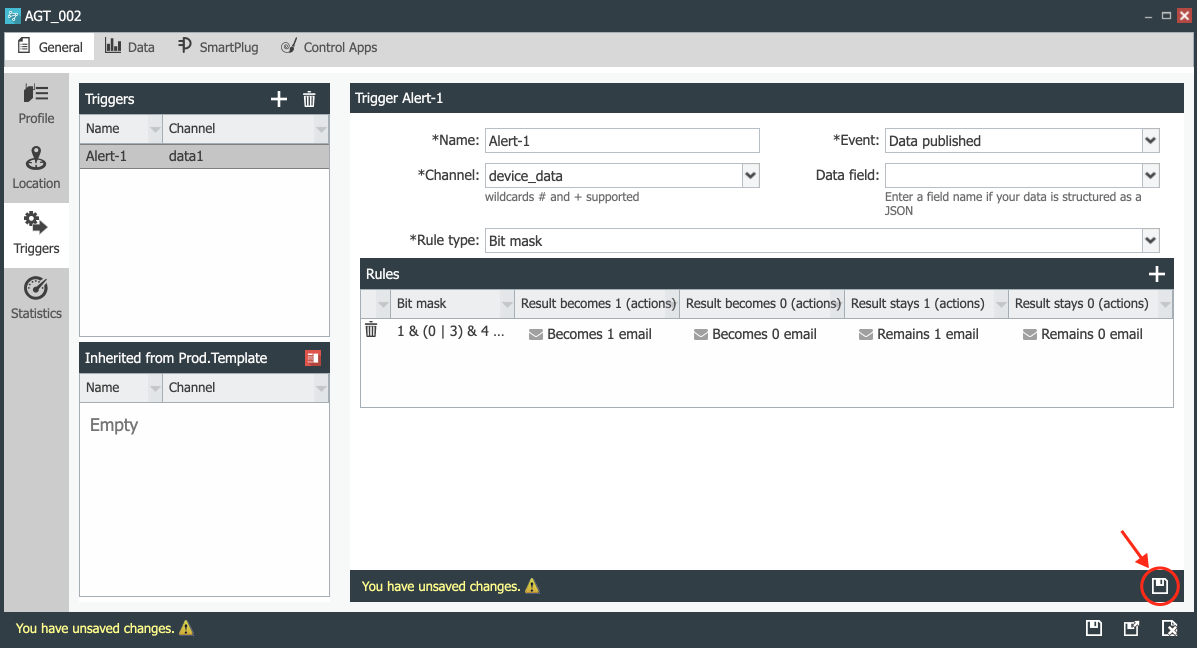 |
| 9. Save the device/Thing. | 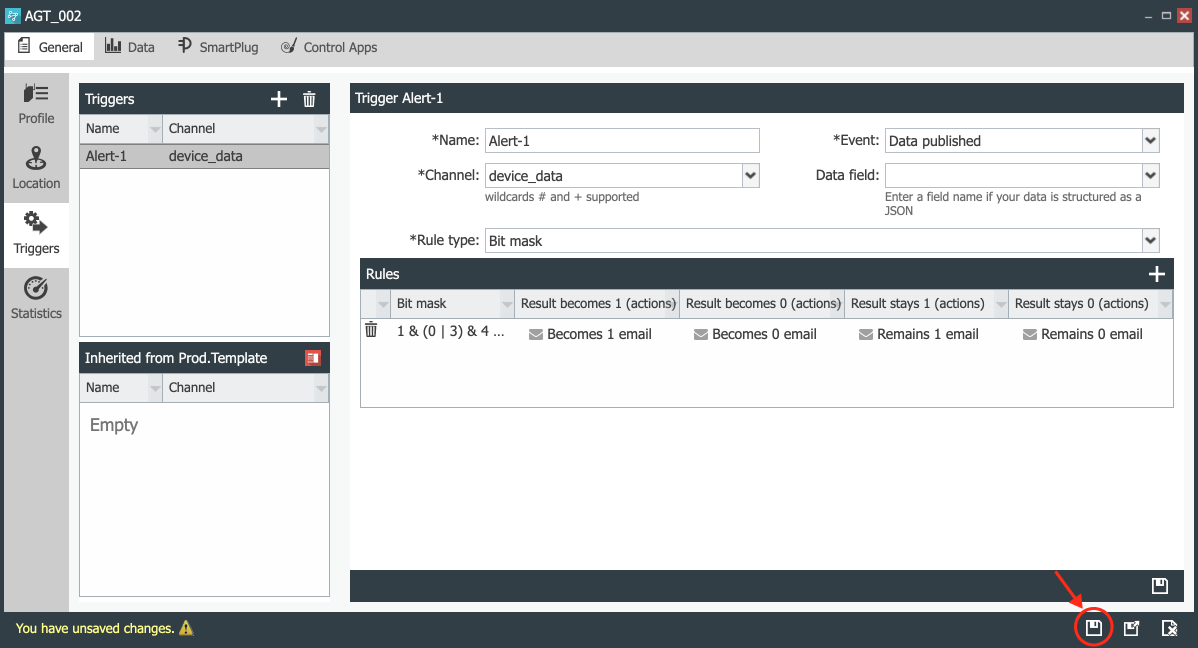 |
| 8. Publish 33 (100001) on device_data. | 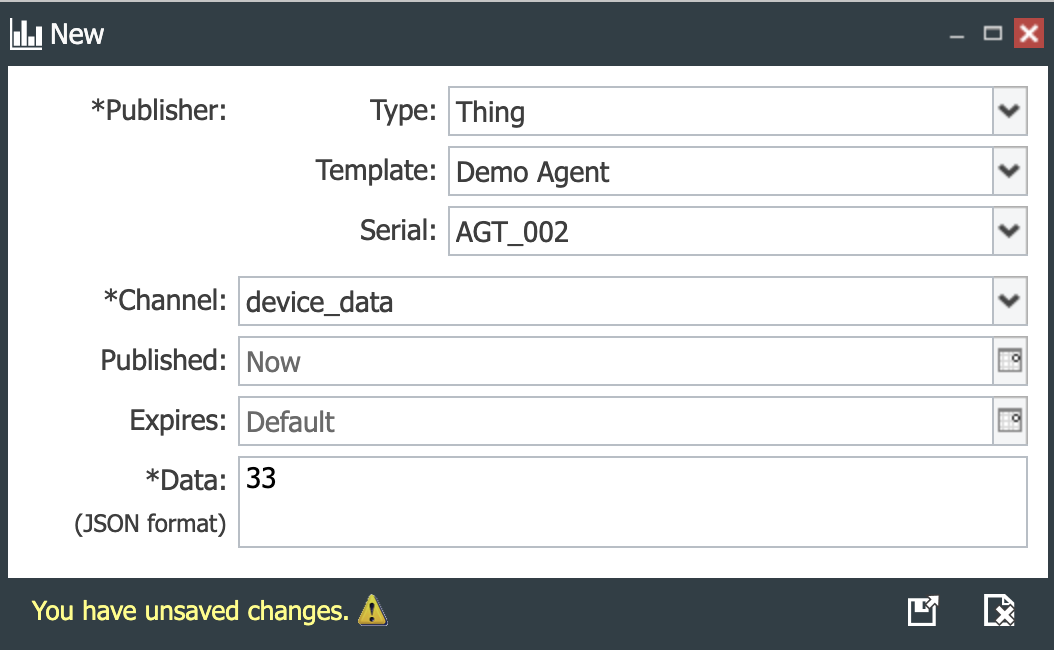 |
| 9. Verify that the email AGT_002 valve was turned ON is received. | |
| 10. Publish 43 (101011) on device_data. | 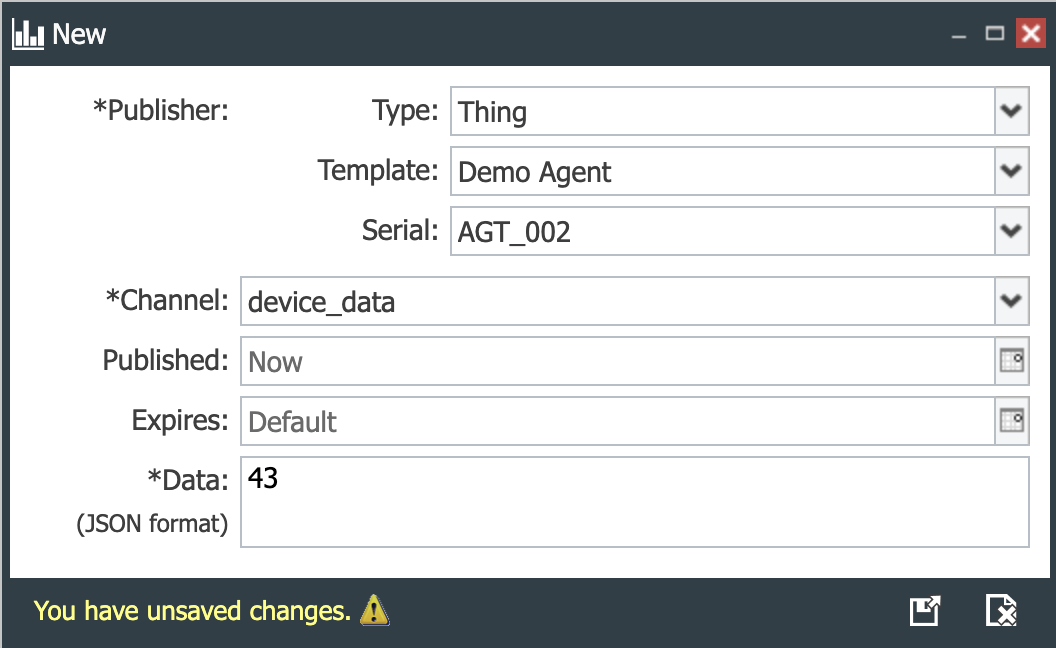 |
| 11. Verify that the email AGT_002 valve remains ON is received. | |
| 12. Publish 14 (001110) on device_data. | 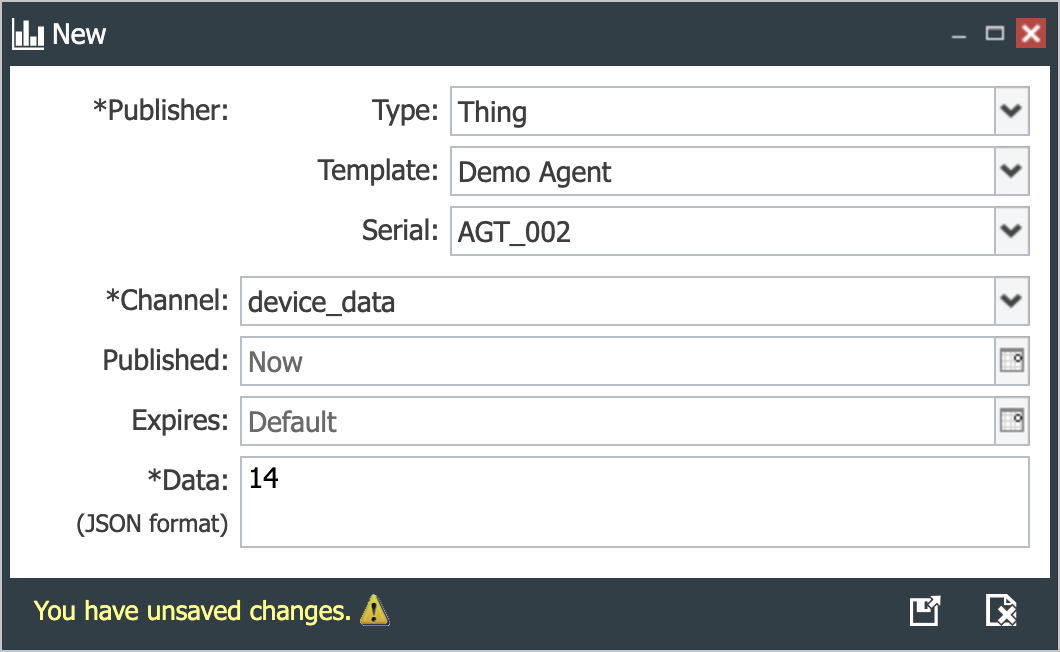 |
| 13. Verify that the email AGT_002 valve was turned OFF is received. | |
| 14. Publish 10 (001010) on device_data. | 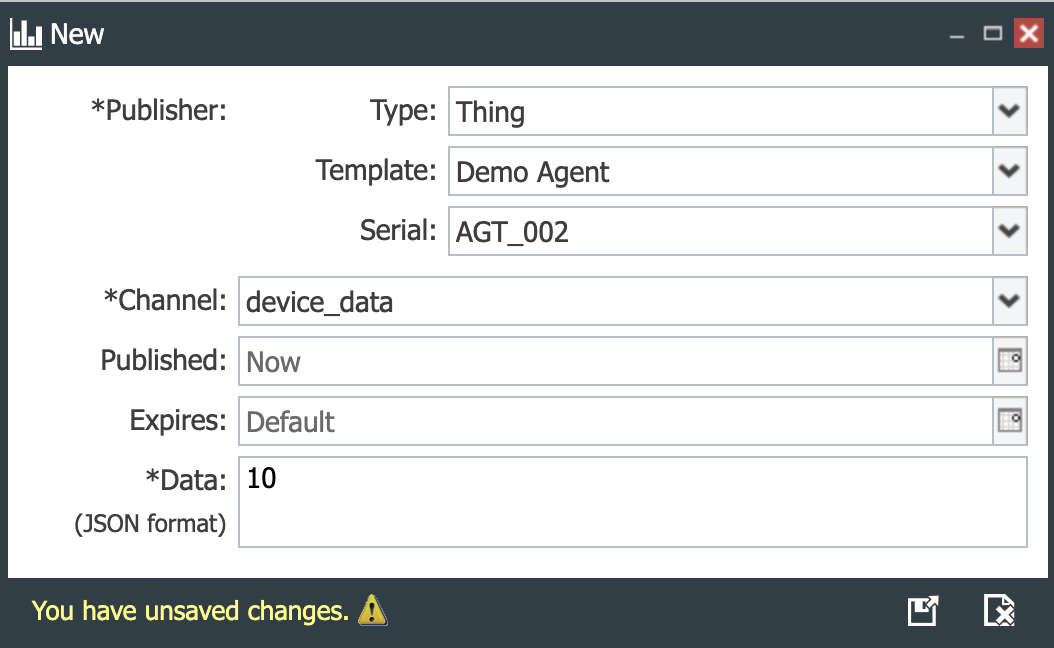 |
| 15. Verify that the email AGT_002 valve remains OFF is received. | |
| The data published looks as follows: | 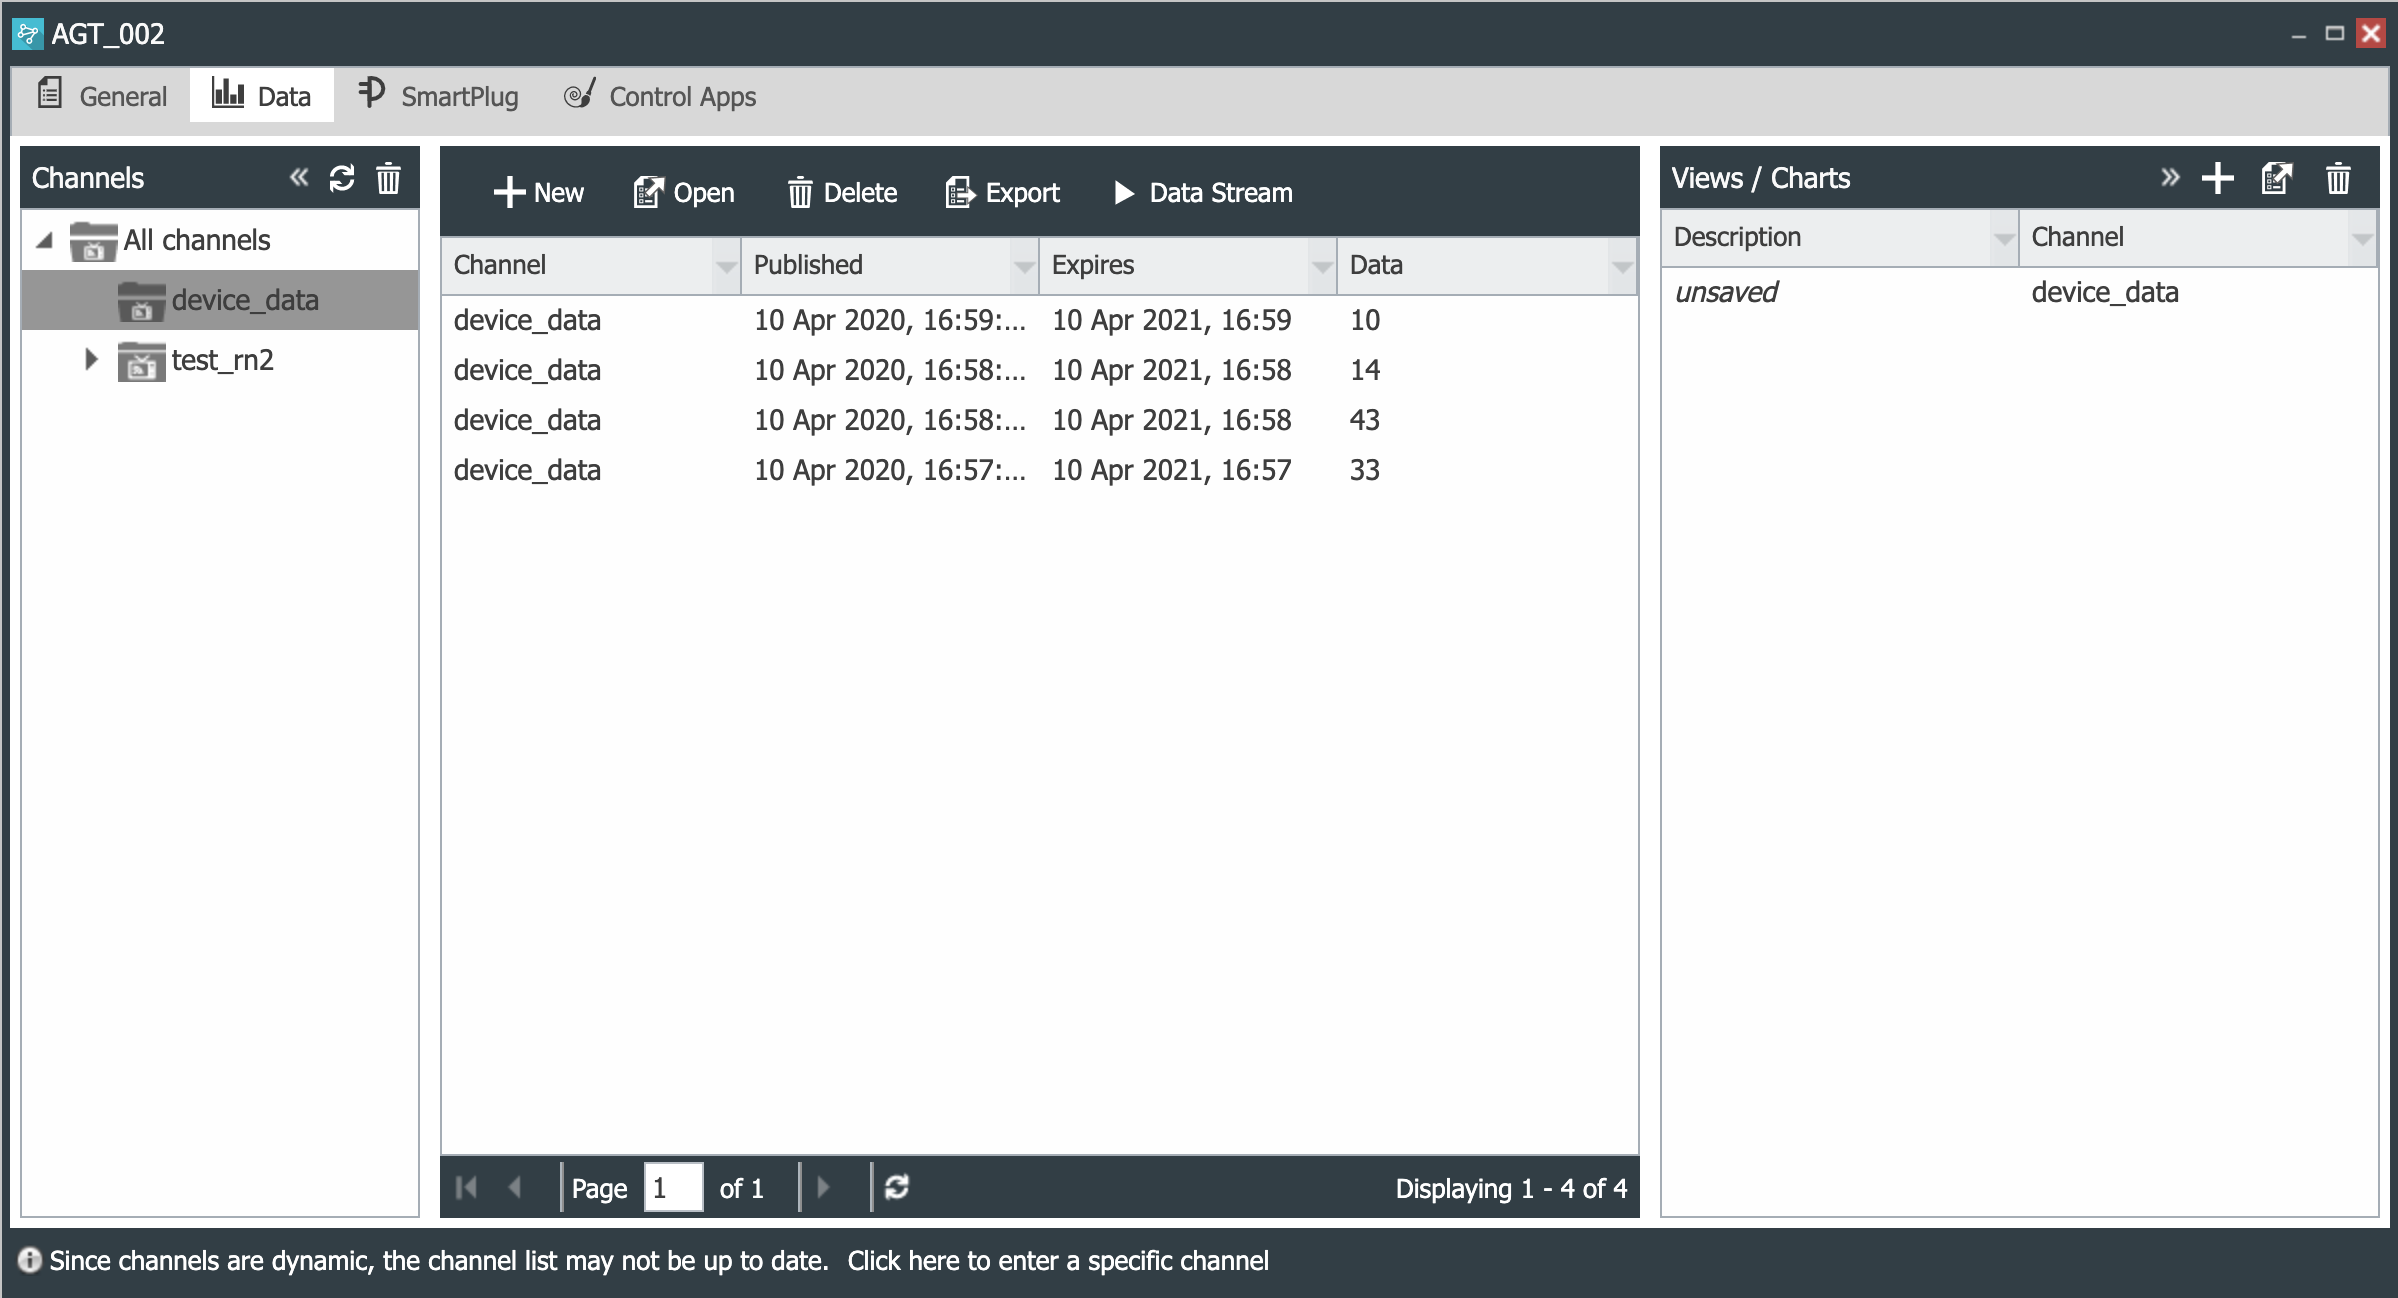 |
 CloudPlugs IoT Knowledge Base