4. Configuration
There are three basic steps to set up and configure the Edge One™ Platform:
- Connect and Sign-in to the Edge One™’s web console.
- Configure the Edge One™’s date and time.
- Connect the Edge One™ to the Internet to access IoT platforms such as CloudPlugs.
- Once the basic set up has been completed, you can configure the following additional parameters:
- Proxy for the Edge One™ SmartPlug™.
- Network to change the Host name, configure the DNS and add new network interfaces.
- Time and Date to change the time zone, data and time.
- Web Server to change the Edge One™ web server default settings.
- WiFi to configure the Edge One™ WiFi access.
- WWAN to configure 3G/LTE communications for the Edge One™.
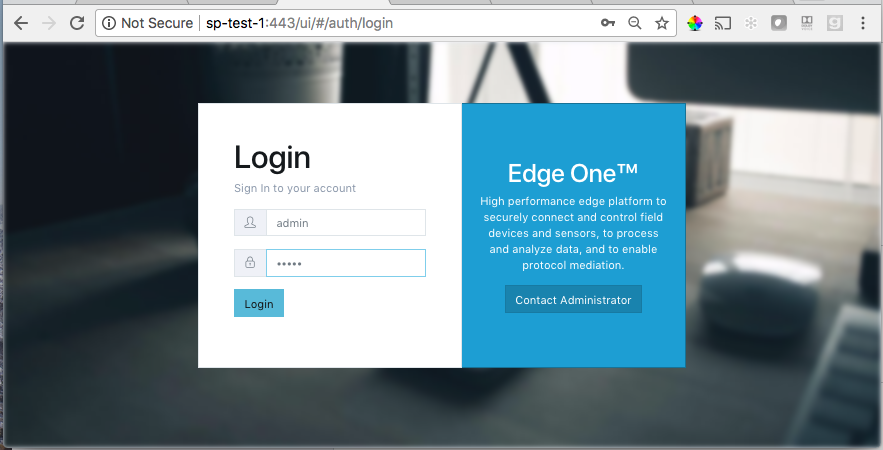
Connect and Sign-in to the Web Console
To connect and sign to the Edge One™’s web console:
-
Make sure that the host of the Edge One™ has a network connection.
-
Open a browser and enter the URL of Edge One™ either using the name or the IP address of the Edge One™ host system. The Edge One™ web server uses ports 80 and 443 by default. These settings can be changed using the Edge One™ Web Server Settings console.
If the host’s IP address is 192.168.1.100, type
http://192.168.1.100
- Sign-in to the Edge One™’s web console with the following credentials
Username:	admin
Password:	admin
The Edge One™ Dashboard should open. If it does not, it means that the Dashboard container was not downloaded and installed properly. Follow the procedure outlined in the Troubleshooting -> missing modules section of this guide.
Verify Connection to CloudPlugs
If the Edge One™ is properly connected to CloudPlugs, the IoT Management Platform panel on the Dashboard should have checkmarks next to the Enrolled and Connected fields and show the date of the last connection. In addition, the SmartPlug™ panel should show the timestamp of when it was last started.
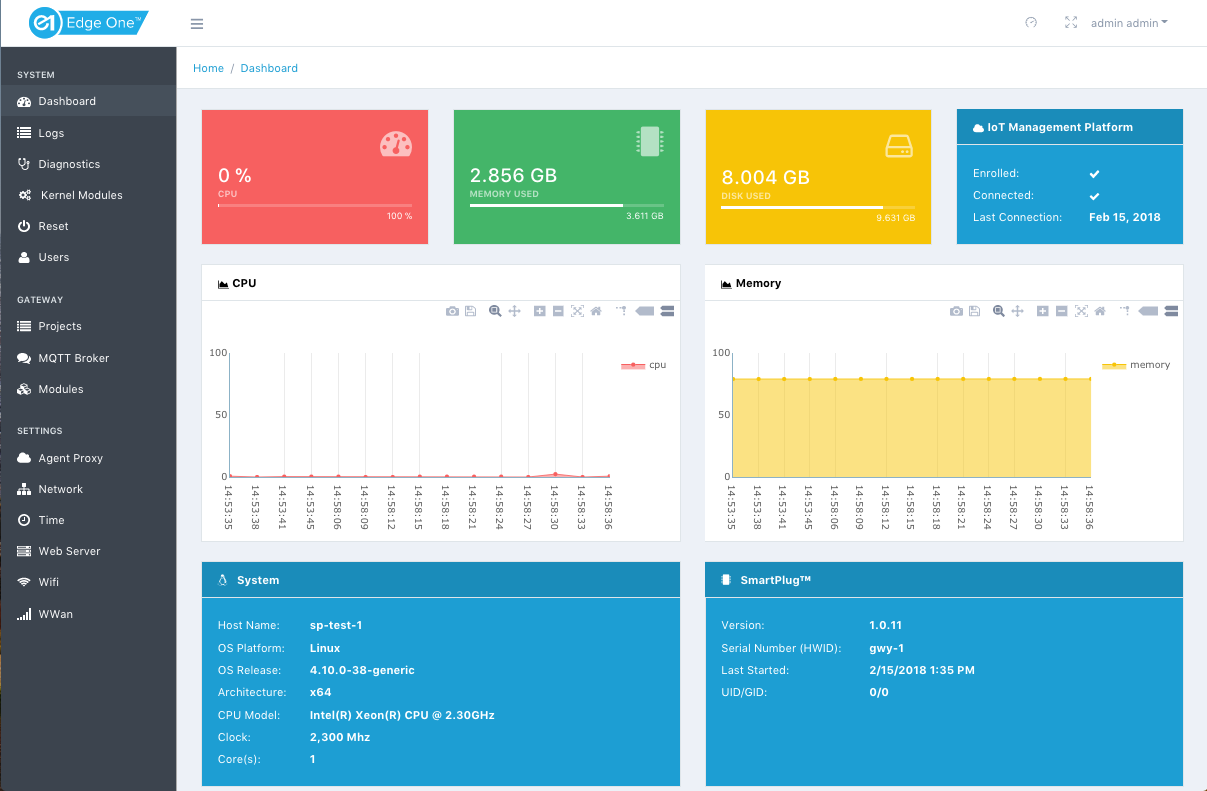
If there does not seem to be connectivity to CloudPlugs, use the Diagnostics tab to ping other hosts or to trace the current routes available to the Edge One™ host.
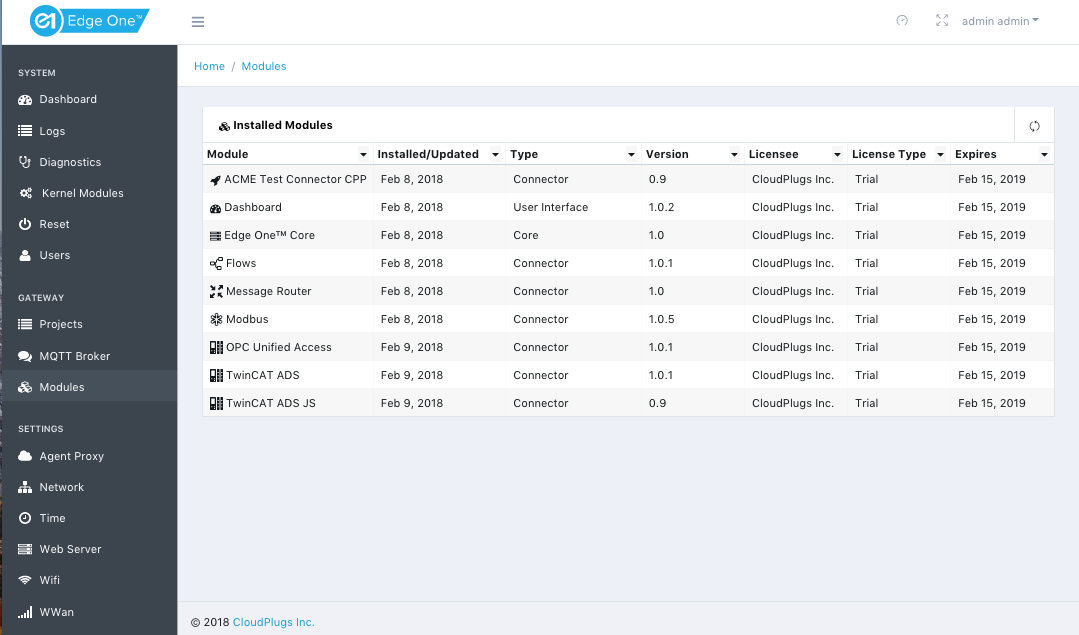
Verify the Modules Installed
On the Edge One™ Dashboard:
- Open the Modules tab.
- Confirm that the desired modules are present. If modules are missing, follow the procedure outlined in the Troubleshooting -> missing modules section of this guide.
Configure the Date and Time
To learn how to configure the Edge One™’s Date and Time please refer to the Date & Time Configuration documentation
Configuration Troubleshooting
Here are some troubleshooting tips.
Dashboard or a Module is Missing
If the Dashboard or a Container module is missing on the Edge One™:
- Login to the CloudPlugs portal.
- Open the Thing belonging to the Edge One™ from the Things management console.
- In the SmartPlug™->Containers tab, verify that the Dashboard or missing container is in the list of Associated Containers.
- If the Dashboard or container module was already in the list:
- Remove it from the Associated Containers panel.
- Add it again to the Associated Containers panel.
- Save and Close or Save the Thing to reinitiate the deployment of the Dashboard container.
- If the Dashboard or container modules was not on the list:
- Add it to the Associated Containers panel.
- Save and Close or Save the Thing to reinitiate the deployment of the Dashboard container.
- Reload the browser session using the URL of the Edge One™ to clear the browser cache.
- Login to the Edge One™.
- Verify that the Dashboard is now visible or that the container module is in the Modules list. If it is not, contact support or open a ticket through the support portal.